While the Centers for Disease Control and Prevention (CDC) currently doesn’t recommend face shields for everyday use or as a substitute for masks, there is a growing chorus among the medical community advocating their use. (And remember, just a few months ago the CDC didn’t recommend masks, either.)
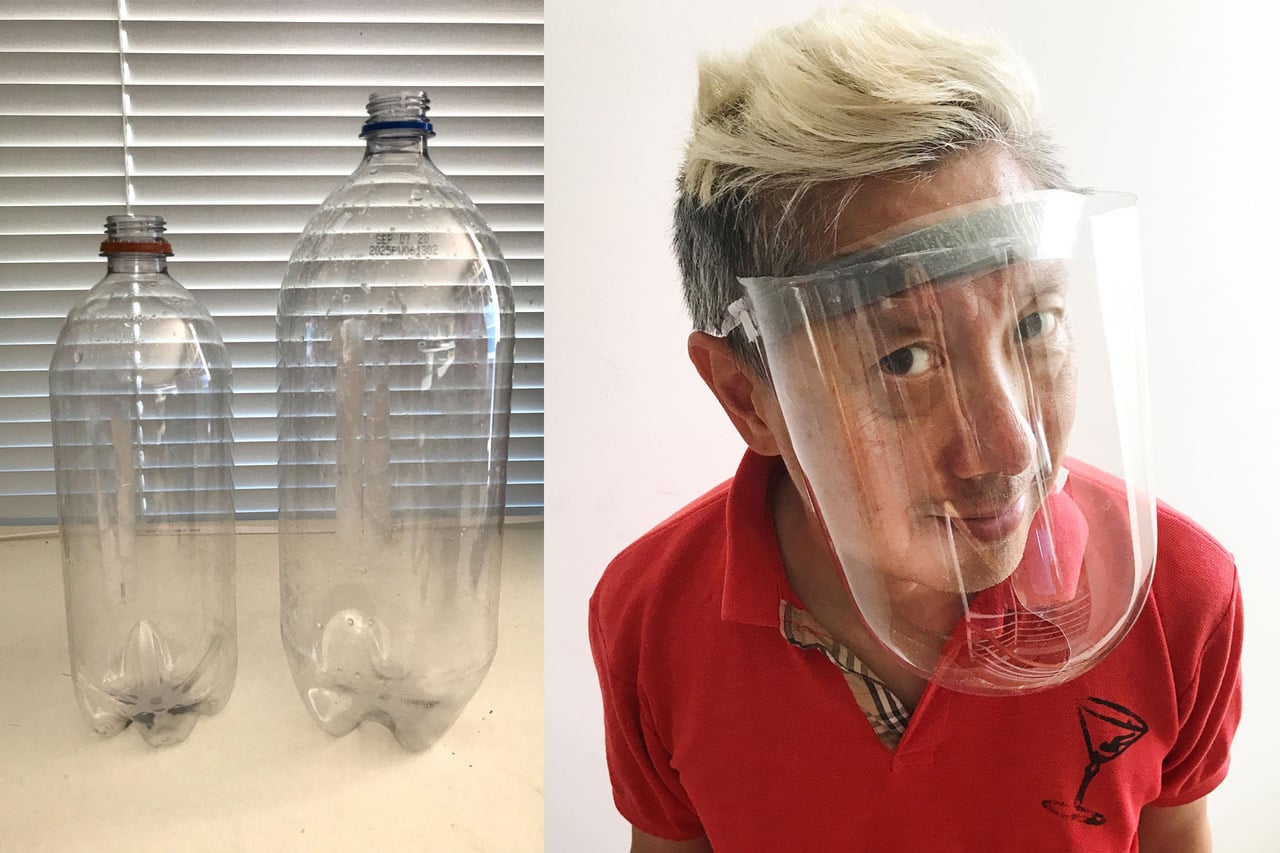
Because of the growing demand for face shields, they can become quite pricey if you can even find any to purchase. But you can make your own out of two plastic soda bottles — a one-liter bottle for the headband and a two-liter bottle for the shield itself. Make sure the bottles are clear plastic and not tinted a color like green, and select bottles that are smooth without any extra ridges or decorations.
Of course, keep in mind that this DIY face shield is not a proper medical device, and it’s not a replacement for social distancing and hand hygiene. And be sure to wash it after every use.
What you’ll need:
Clear plastic one-liter soda bottle
Clear plastic two-liter soda bottle
Hobby knife
Scissors
Self-adhesive foam weatherseal
Hole punch
Stapler
Elastic cord

1. Wash the plastic bottles and remove the labels. Then cut a one-inch strip from the one-liter bottle. I used a hobby knife to make the initial hole in the plastic and then cut the strip with scissors. The diameter of the one-liter bottle is about 10 1/4 inches, so the strip will be one inch by 10 1/4 inches. This piece will be the headband.

2. Moving on to the two-liter bottle, cut out the top where the bottle cap is, and the bottom with the curved ridges. Then cut a straight line lengthwise through the cylinder of plastic so it will splay out. This piece will be the actual face shield. I rounded the corners so there wouldn’t be any sharp edges. The top of the bottle, which curves in, will be the bottom of the face shield, and the bottom of the bottle, which has been cut straight, will be the top.

3. For the one-inch headband, we need to cover it with some foam to make it more comfortable to wear. A roll of foam weatherseal, which you can find at Home Depot or Amazon, will do the trick. Peel off the protective backing to the adhesive and attach it to the strip of plastic with the foam on the side that will be touching your forehead.

4. Line up the ends of the headband with the sides of the face shield and you will see how the shield extends past your face to give you more breathing room. Punch a hole through the plastic where the two pieces of plastic meet for the elastic band.

5. Lining up the holes you punched at the ends, staple together the two pieces of plastic.

6. Run a 15-inch piece of elastic through the holes, tying a knot at both ends to keep the cord in place. If you don’t have elastic, you can use a shoelace and tie it around your head.