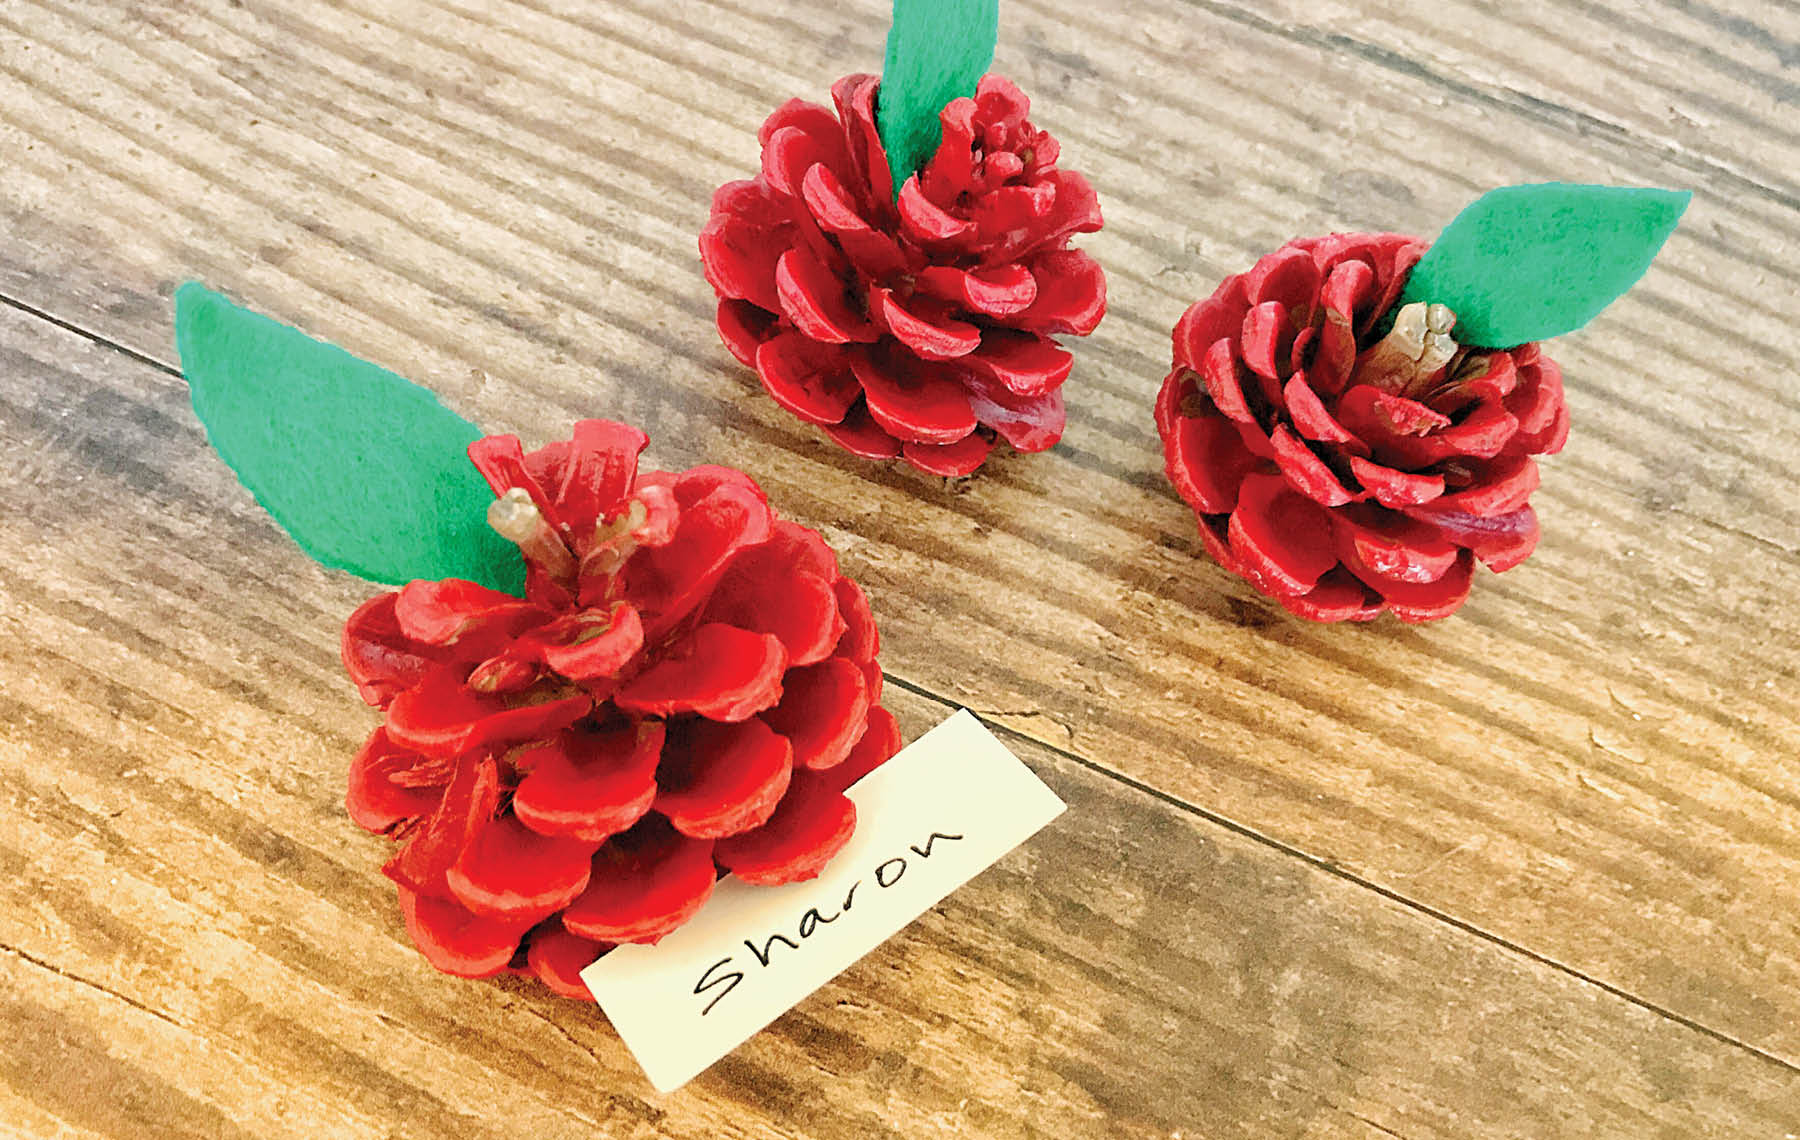
When I’m walking my dogs in the neighborhood and I come upon a pine cone on the sidewalk, I can’t help picking it up. Pine cones are considered gold in crafting currency. There are so many projects you can make with them. And here’s a fun example just in time for fall — turn them into little apples that can hold place cards. What a whimsical idea for your table on Rosh Hashanah, or save them for Sukkot in a few weeks.
What you’ll need:
Pine cones
Red acrylic paint
Paint brush
Green felt
Glue
Cardstock
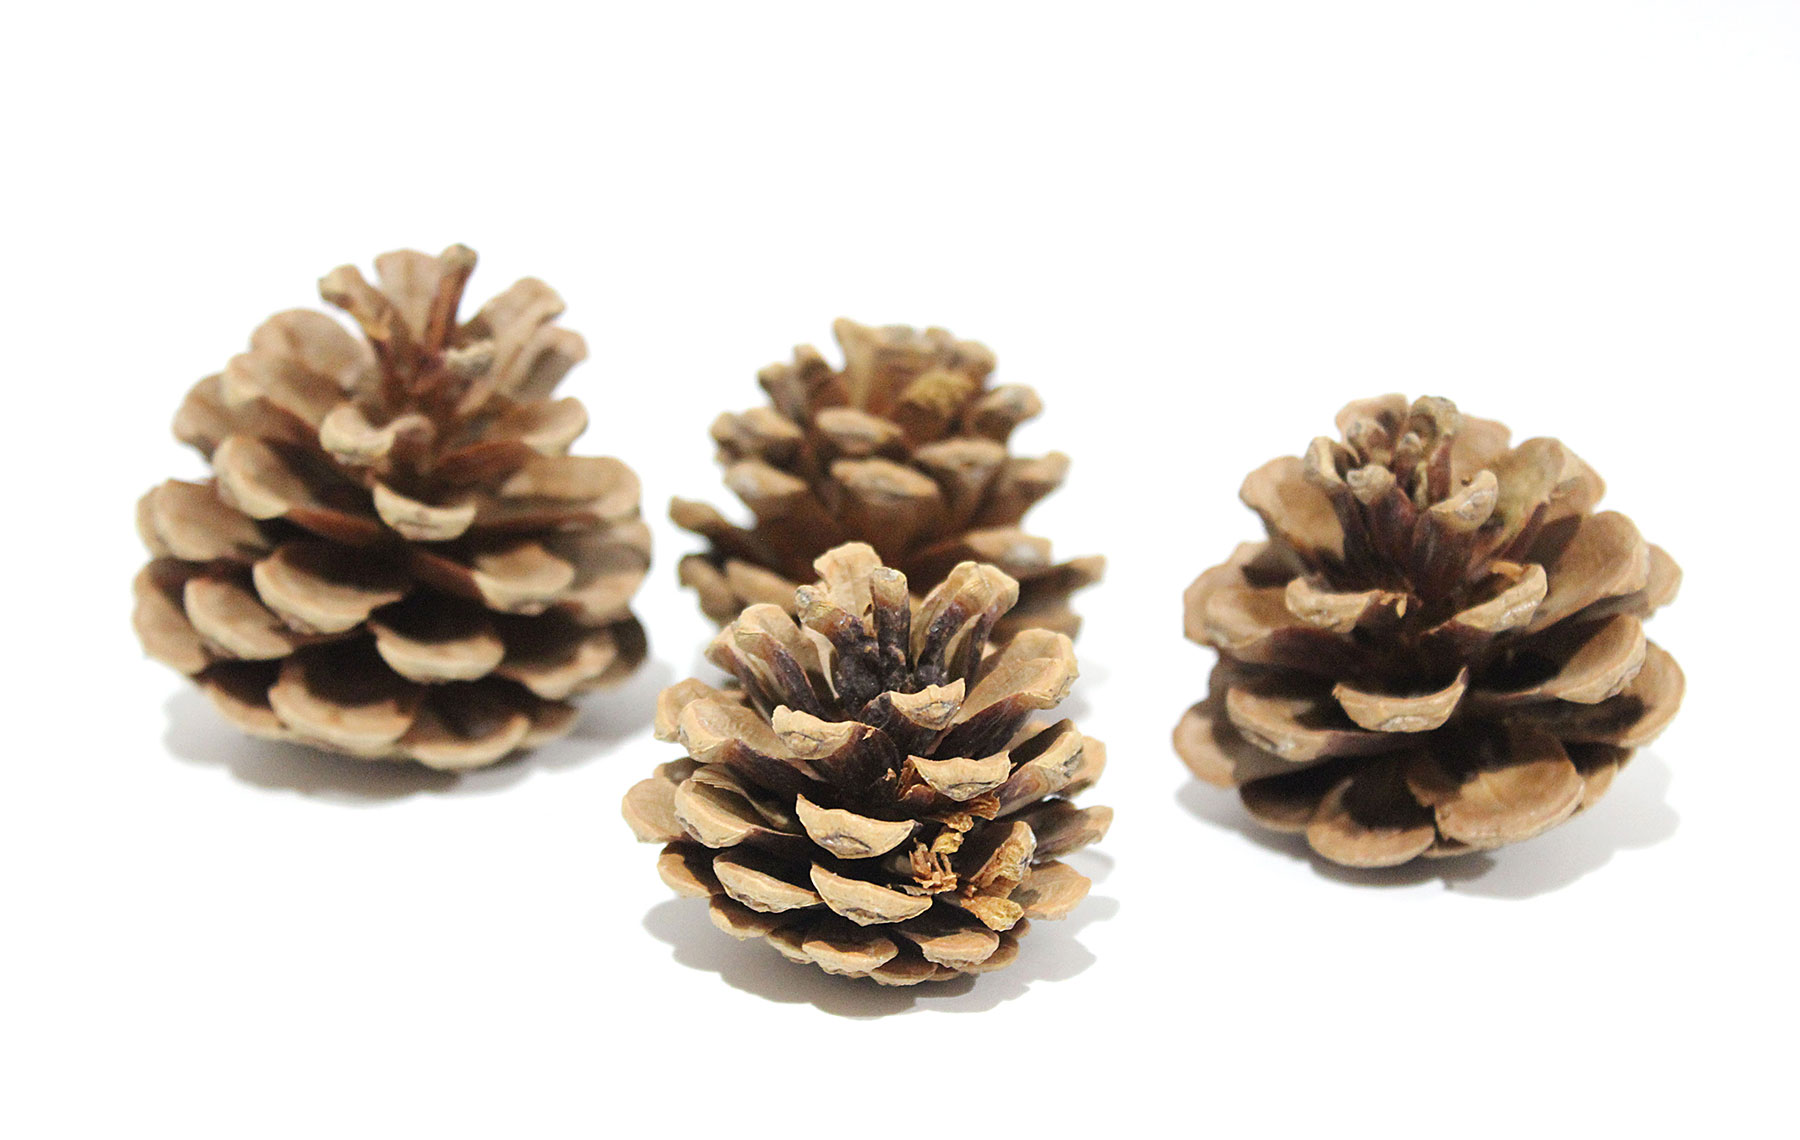
1. Gather your pine cones. If you don’t have any in your yard or neighborhood, you can buy them at the crafts store. The pine cones I used were on the small side, about two inches around. The smaller they are, the easier they are to paint.
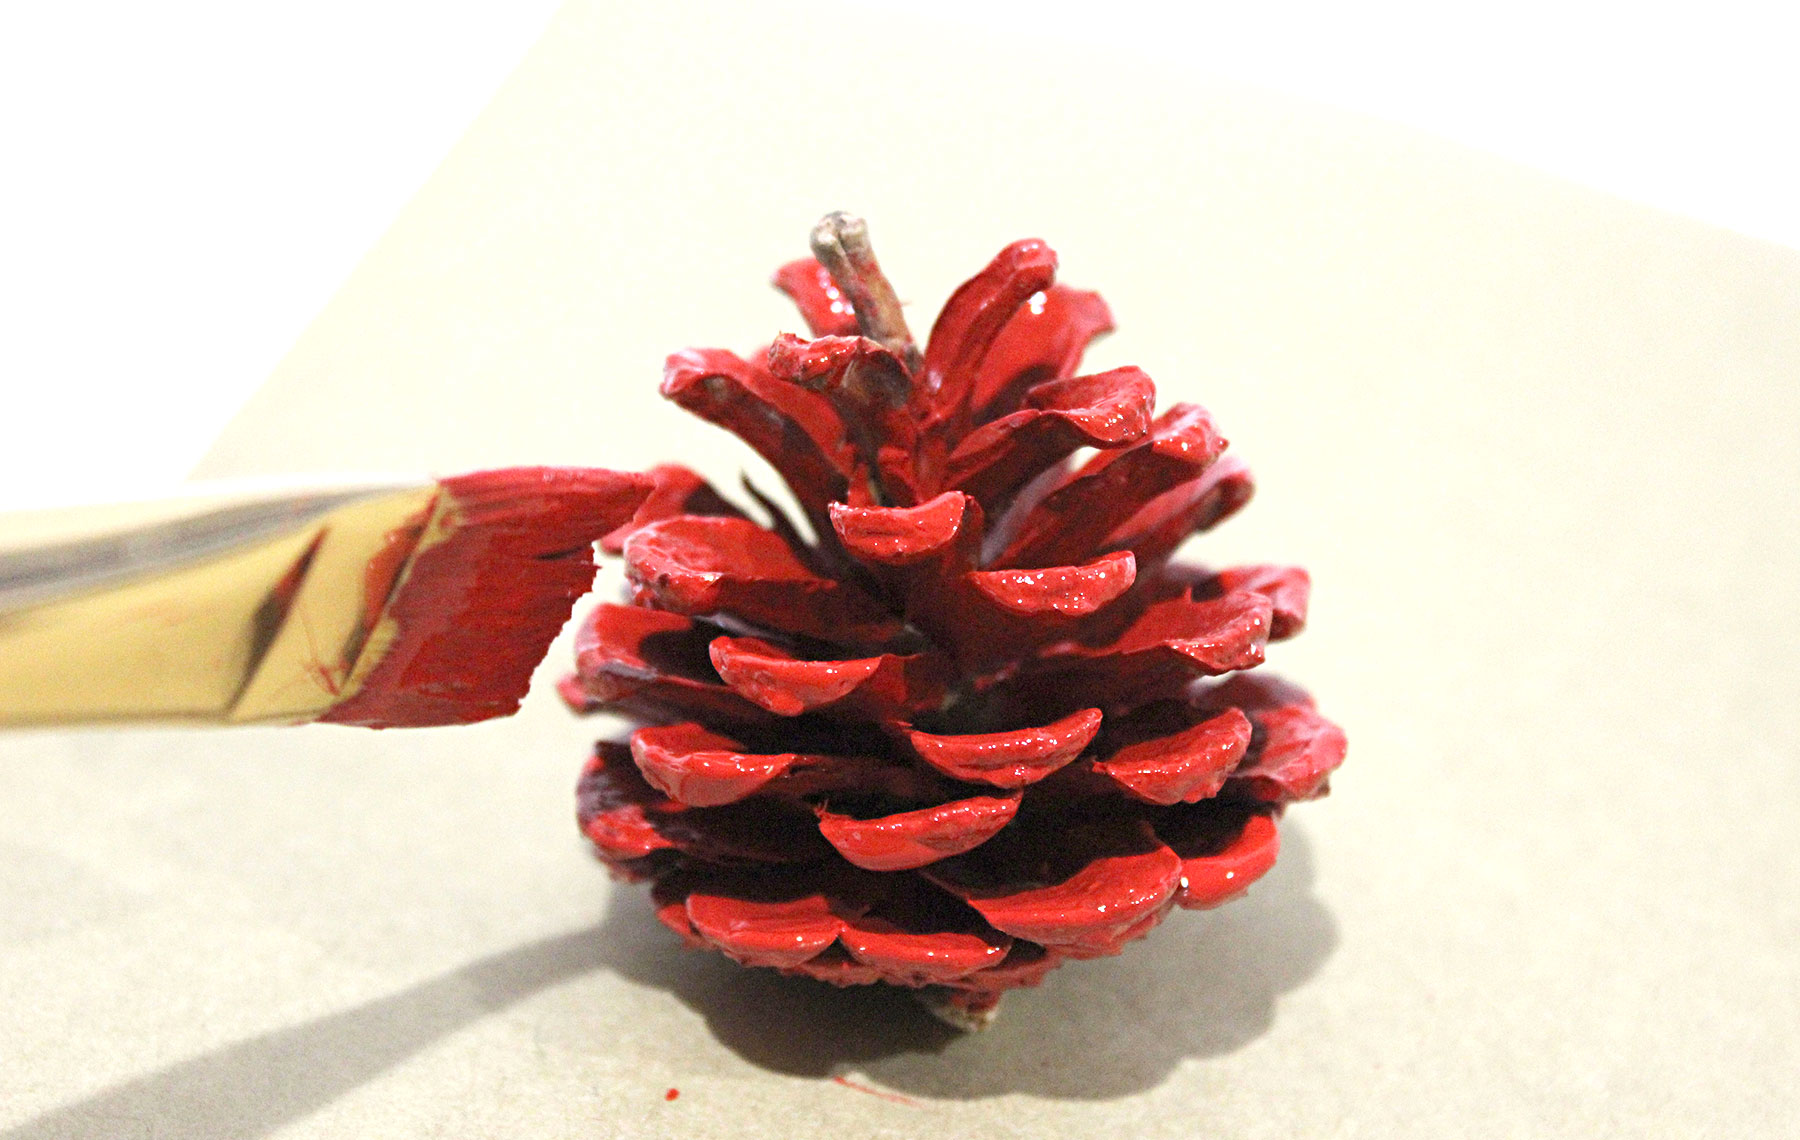 2. Apply red acrylic paint on the pine cones with a paintbrush. Try to get in between the scales so that the whole pine cone is covered, except for the small scale at the very top. I like to keep that one unpainted so it looks like an apple stem.
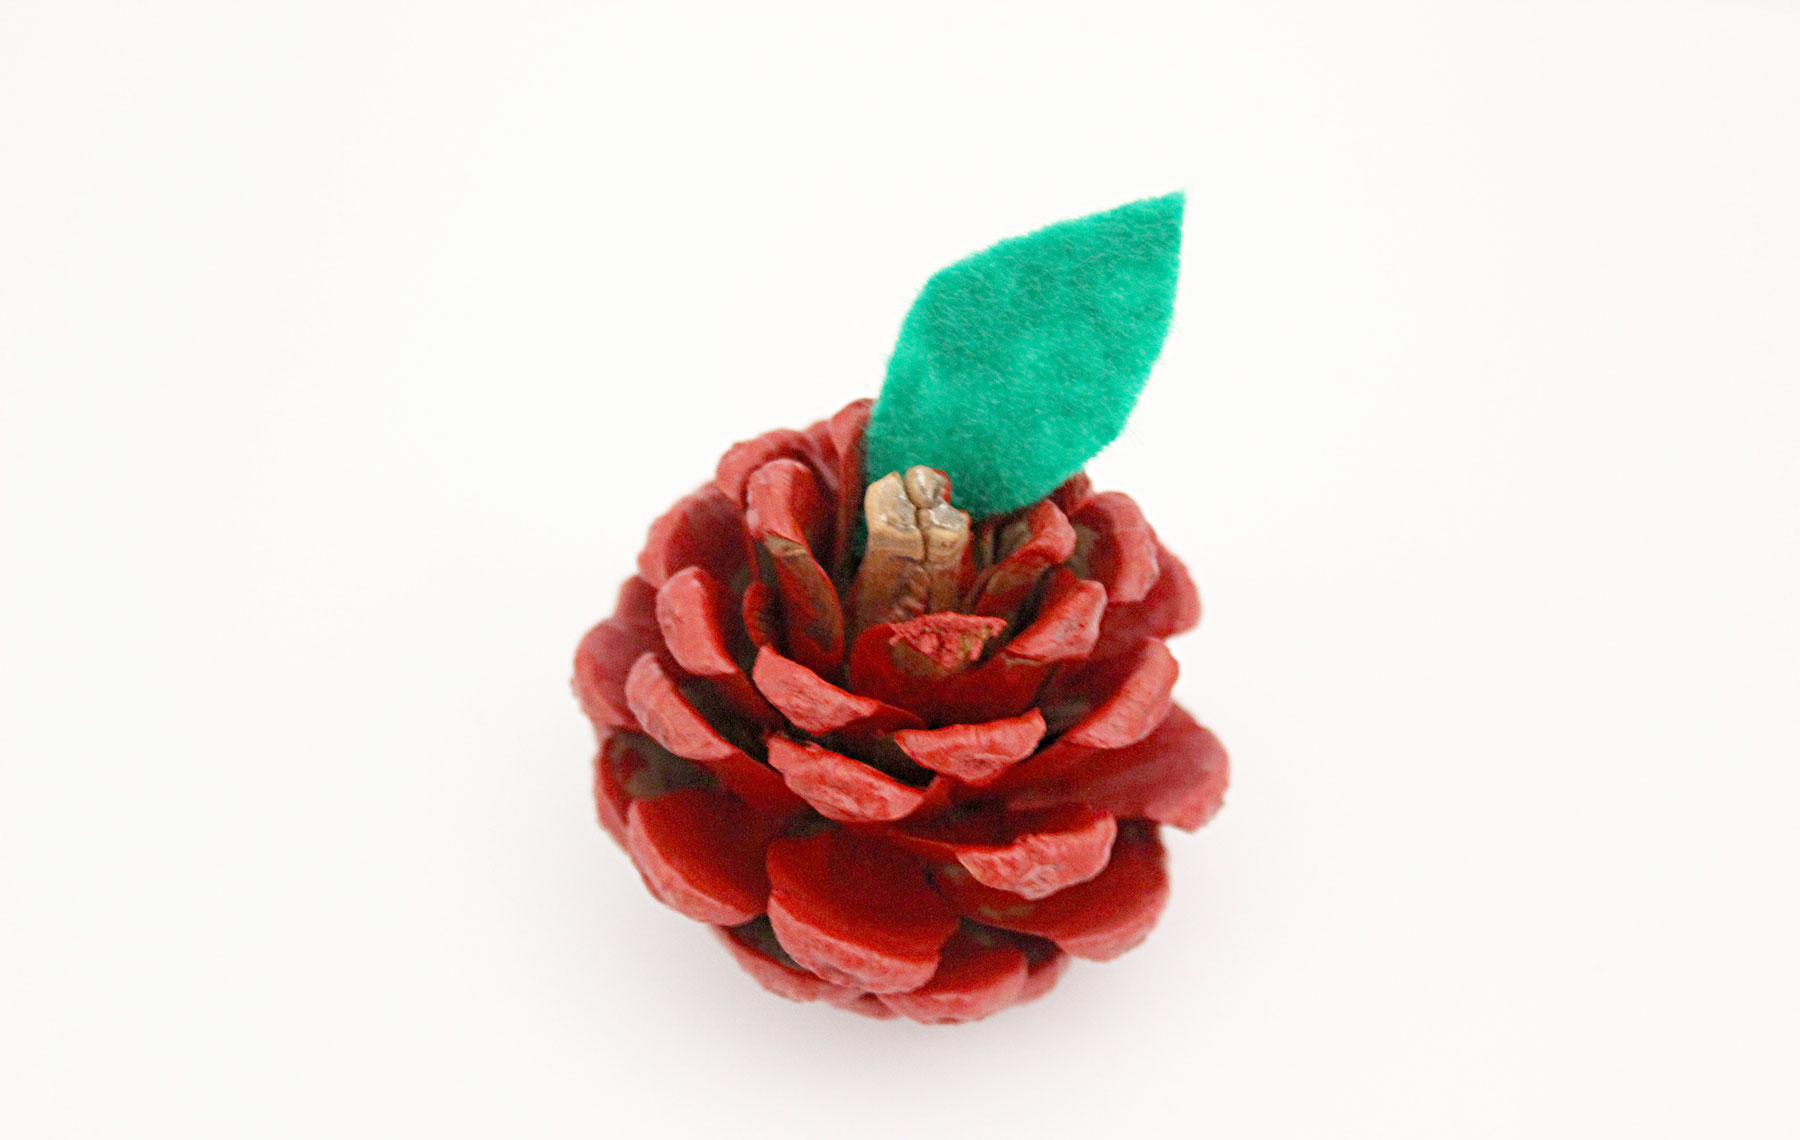
3. Cut a leaf shape out of green felt, and glue it to one of the scales at the top of the pine cone. You can also use green construction paper if you have some of that handy.
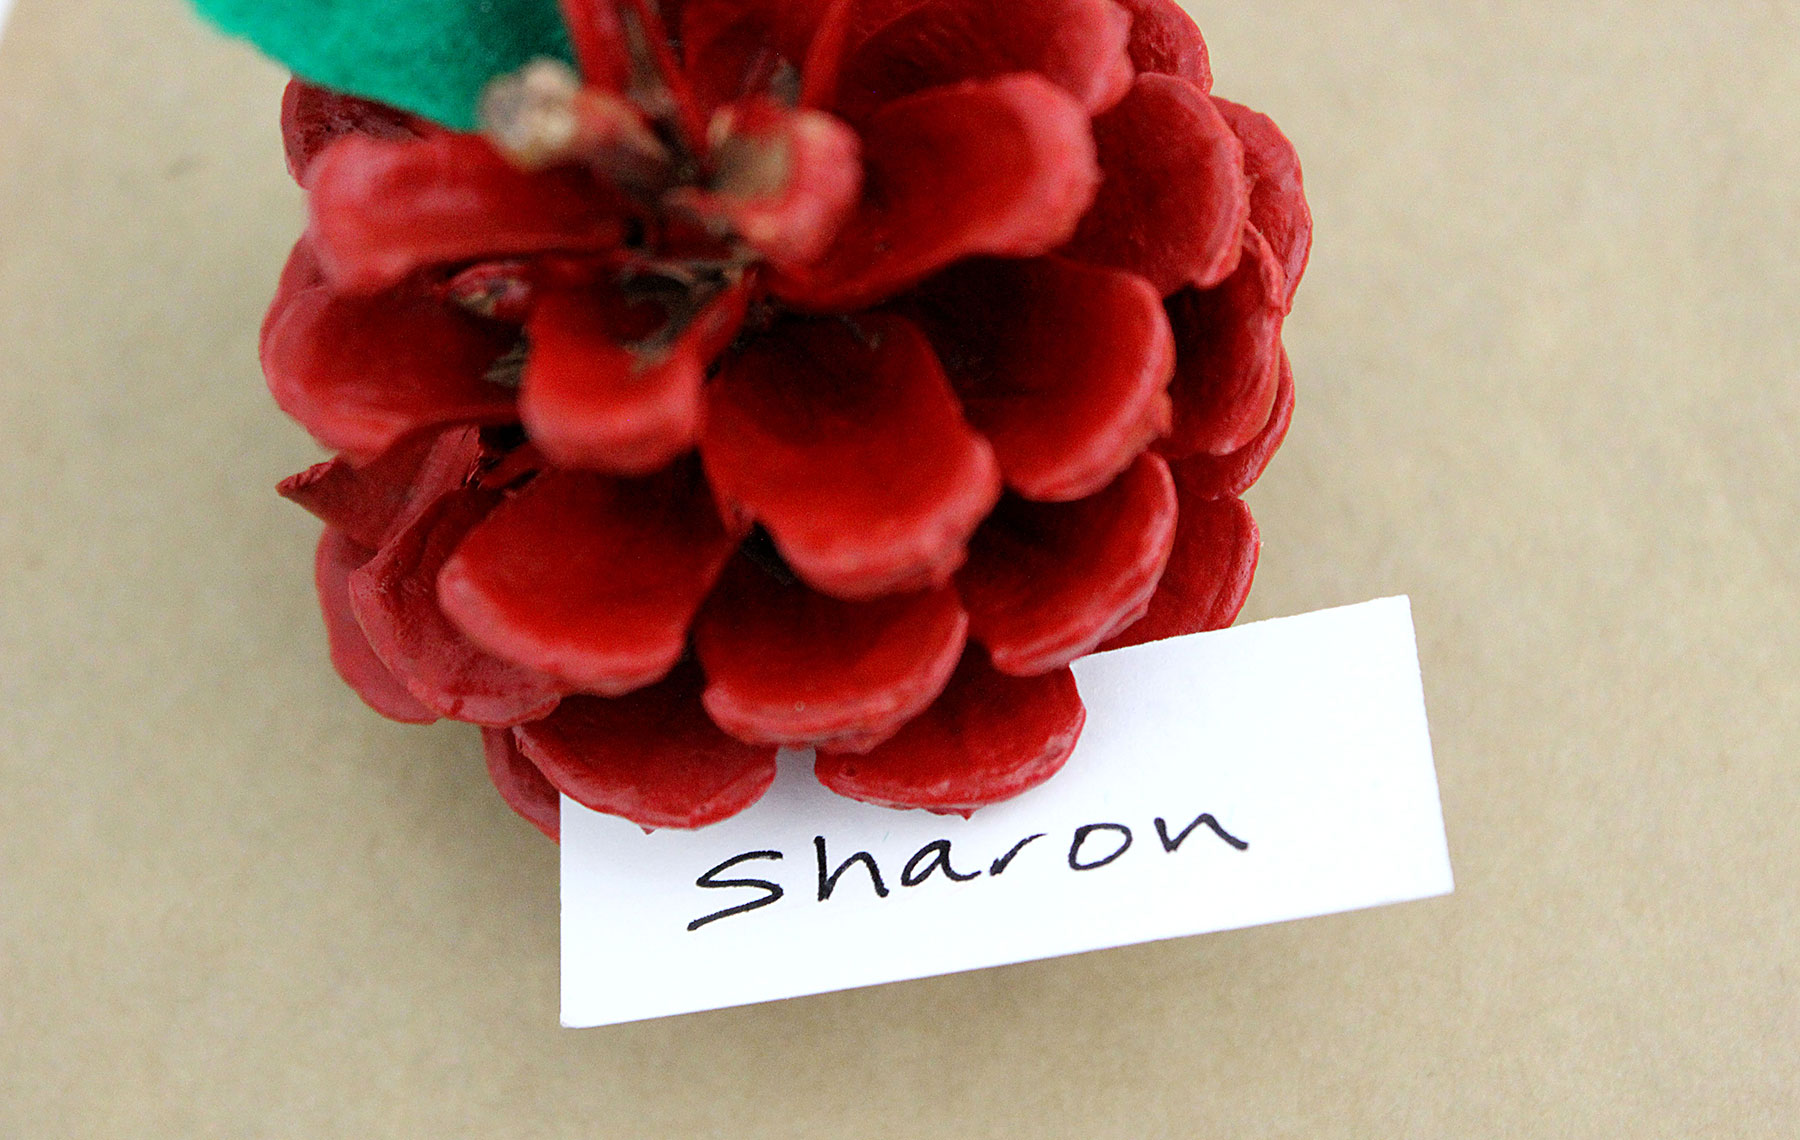
4. Cut small strips of cardstock and write names of guests on them. The size of the strips will depend on the size of your pine cones. My place cards were about 1 /2 inch by 2 inches. Then slide the place cards between the pine cone scales.
Jonathan Fong is the author of “Flowers That Wow” and “Parties That Wow,” and host of “Style With a Smile” on YouTube. You can see more of his do-it-yourself projects online.