The cooking bug can bite you at any age. Cooking is creative, educational and fun.

Ezra Hon, 6, started cooking around age 2. He began by helping his parents with food prep, such as chopping and grating. “Our family does a lot of cooking,” Ezra’s mom, Naomi Kaye Honova, told the Journal. “Ezra’s dad bakes bread twice a week plus challah, which is something Ezra often makes himself.” When asked why he loves to cook, Hon said, “It’s really fun to mix ingredients and then eat everything at the end.”
While Hon loves homemade pizza, (“I love to eat a bit of the dough and also spread the tomato sauce and mozzarella on top,” he said), he wanted to share his recipe for matzah and charoset. They’re, “tasty and they go really well together. One is crunchy and one is soft.”
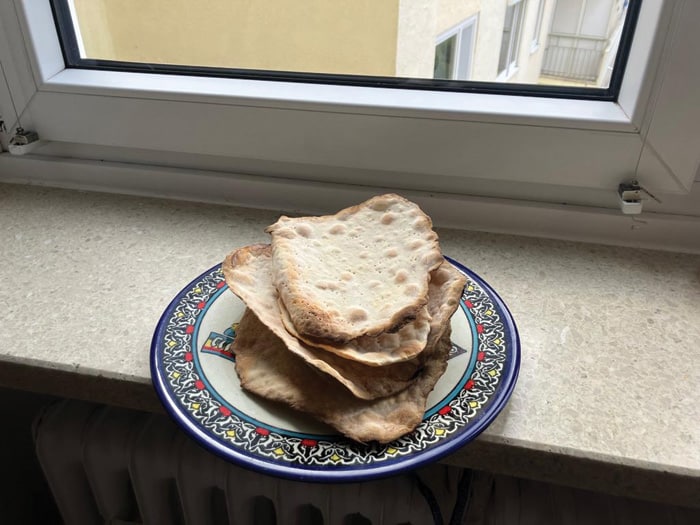
Ezra’s Homemade Matzah and Charoset
Matzah:
3 cups flour
1 cup water
Mix three cups of flour and one cup of water. Make sure it’s not too sticky.
Make the dough into some balls. Then roll them out into different pieces with a rolling pin.
Poke holes in the dough with a fork. Make sure it’s not too thick or too thin.
Heat up the oven to 356°F.
Watch the oven very carefully so it doesn’t rise like bread. It should look light brown on the top. Then you have to let it cool down.
Charoset:
1 cup walnuts
5 small dates
1 apple
1 tiny tsp of cinnamon
1 cup wine
Pinch of salt
Chop the walnuts and dates into very small pieces. Do the same thing with the apples.
Put it all into a frying pan together with some cinnamon. Pour in some red wine and cook the charoset on the stove until everything is cooked pretty well and is nice and mushy and warm. You could also add a tiny bit of salt.
Then, pour everything into a blender. Turn on the blender till it’s nice like a paste. Let it cool down before you eat it. If you don’t eat all of it, you can keep the rest in the fridge.
“Spread the charoset on your matzah to make a yummy sandwich,” Hon said..
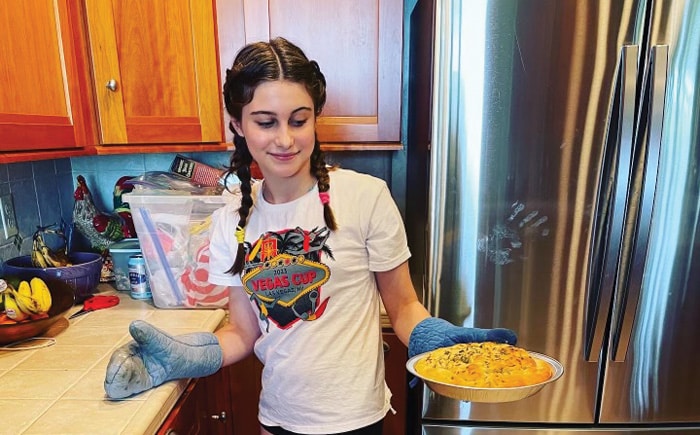
Photo by Faith Kramer
Sophia Nigri, 13, started helping her mom in the kitchen at age 3. “I was allowed to begin using the stove, oven and knives alone at age 9,” Nigri told the Journal. “Then I just started cooking and baking more and more.” Nigri says she loves to cook because it’s therapeutic, satisfying to do manual activities and she gets to “eat the delicious result!”
Many of Nigri’s recipes blend Jewish Lebanese flavors because her dad is Sephardic Lebanese. She creates both kosher and nonkosher versions. “For my bat mitzvah, I took challah baking classes,” Nigri said. “At one of my classes, the rabbi’s wife mentioned that challah is like making a Jewish focaccia because for both, we need to be patient and let the dough chill and rise.”
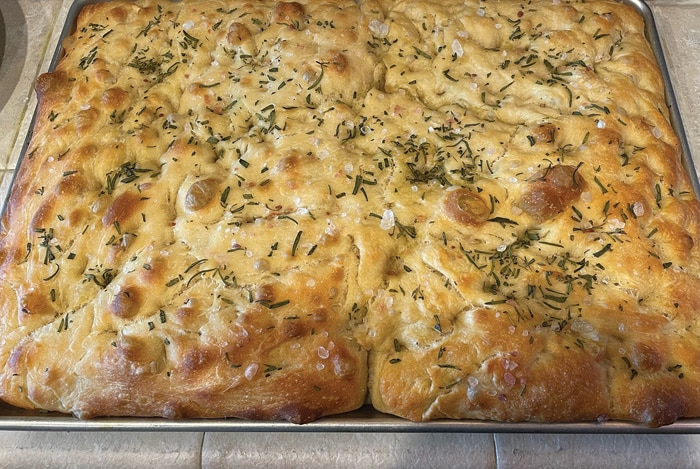
A few weeks ago, Nigri tried her first focaccia at home, inspired by, AlexandraCooks.com, whose quick tips helped her. It worked perfectly. But “I felt the recipe needed a ‘flavor-up,’” she said. “I had recently made rosemary olive oil with fresh rosemary from our garden immersed in Greek olive oil and I wanted to use it instead of just plain olive oil.”
Nigri changed the plain rock salt to Himalayan pink salt; she also sliced Greek olives into the dough. “It turned out so delicious that I decided to make it again on a family trip ,” she said. “I had to adapt my own adaptation, because some of the ingredients were missing.”
Sophia Nigri’s Focaccia
Tips
– Make sure to let the dough rise overnight (at least 12 hours). I recommend making the dough in the mid-afternoon and only remove it from the fridge the following day.
– Don’t forget the second rise: After the dough has been put into the baking tray, let it sit at room temperature for at least 2 hours before going into the oven.
– Be creative and make flavored olive oils with different herbs to enhance the flavor.
– Pop it in the oven as soon as you are done dimpling the dough.
Ingredients
Flour: all-purpose flour | 4 cups (500 g)
Yeast: active dry yeast (10 g or whole
packet)
Salt in dough 10 grams (2 tsp) of salt for
every 500 grams (4 cups) of flour
Water: 2 cups (455 ml) There is a lot of
water in this dough ( I learned it needs
88% hydration to make the focaccia
nice and airy)
Olive oil: Greek olive oil flavored with
fresh rosemary. The rosemary has
to marinate in the olive oil for at least
a week
Toppings: Himalayan coarse pink rock
salt, finely chopped rosemary and
sliced Greek olives
Whisk flour, salt and yeast together. Add water. Use a silicone spatula to mix together.
Slick dough with rosemary olive oil.
Cover bowl plastic wrap and put it into the fridge immediately. Let sit for at least 12 hours. Then remove.
Put into a baking pan (I prefer a rectangle 9×13 inches, but I have made it by dividing the dough into 2 pie pans also). Make sure the dough is
Let it rise at room temperature for at least 2 hours.
After the 2nd rise, add desired toppings, dimple the dough: stick your fingers into the dough making little holes.
Put it into a preheated oven at 425°F for approximately 25 to 30 min, until golden brown.
“It tastes VERY DELICIOUS when fresh out of the oven,” Nigri said. “But be careful and let it cool enough for about 10 minutes before trying it so you don’t burn your tongue.”

Photo by Rachel Riederman
Charlie William, 3 ½, loves to cook because “It’s fun,” he told the Journal. “It makes me so happy.” His favorite things to cook — and eat — include spinach with chili, spicy peppers and pasta, as well as baked ziti, which he pronounces “taziti.”
A staple in William’s home is lemon blueberry pancakes, a recipe his dad, Evan William, has honed for years. “The two of them will scuttle downstairs early on a weekend morning while I sleep in,” his mom, Rachel Riederman, food stylist, photographer and author of “Once Upon a Rind in Hollywood,” told the Journal. “With Charlie standing on a chair, they measure and mix the wet and dry ingredients, ensuring the gift of golden pancake-making is passed on to the next generation.”
Riederman said their recipe for super tall and fluffy pancakes with a golden crust is fantastic for a lazy Sunday morning at home and never fails to wow guests.
Evan’s Lemon Blueberry Pancakes
Inspired by Martha Stewart’s recipe. Makes 5-6 fluffy 5” diameter pancakes.
1 cup all-purpose flour
2 tsp baking powder
2 Tbsp sugar
1/2 tsp salt
1 large, room temperature egg
3/4 cup milk (measure out first to bring
to room temp)
1 Tbsp melted unsalted butter (let cool
slightly)
Zest of 1/2 lemon
1/2 cup frozen or fresh blueberries. (Wild
Blueberries are preferred as they are
smaller. If using frozen, defrost in a
bowl of room temperature water.
Change water a few times until thawed.
Drain and gently pat dry).
In a medium mixing bowl, whisk together flour, baking powder, sugar and salt. Set aside.
In a large mixing bowl, beat egg, then whisk in milk, butter and lemon zest.
Add 1/3 dry mix to wet ingredients and whisk until partially combined. Repeat two more times with the remaining dry mix. When all the dry mix is almost combined, add blueberries and mix a few more times so that flour is thoroughly combined and blueberries are evenly mixed into batter. Don’t over-mix! Small lumps are okay. Set batter aside to rest.
Preheat the griddle to 350° F, then grease with vegetable oil. When the griddle comes to temp, scoop approximately 1/4 cup batter onto the griddle for each pancake. Flip when the bottom is golden brown. Remove from the griddle when the second side becomes golden brown.
Serve with salted butter and maple syrup.
Tips:
– Let kids help measure out ingredients and mix. It takes a little longer, but is a lot of fun!
– If it’s your first time using your electric griddle or heating a griddle over a stove, bring to temp. and make a small “test” pancake. Adjust heat if needed so pancakes don’t brown too quickly; otherwise, the insides will not cook through.
– Double the recipe so there are leftovers, pancakes freeze well for enjoying later.
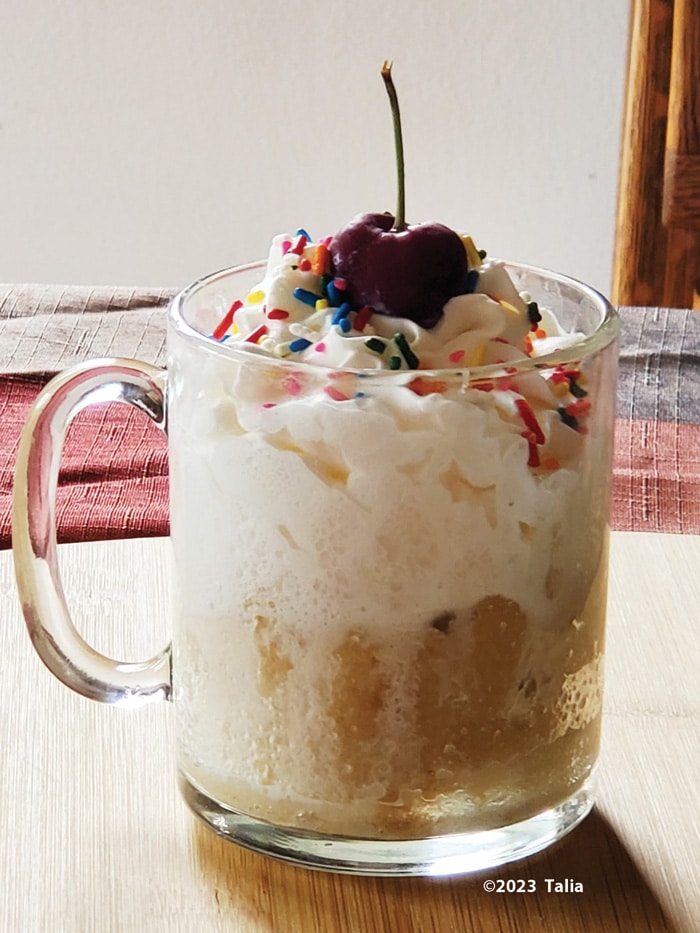
Photo by Talia H
Talia H, 13, started cooking at age 4, when she made thumbprint cookies with her mom. She really likes food and said, “It tastes better when you make it yourself.” Talia said it’s nice to make a concoction that tastes good. Her favorite recipe is for mug cake, because it’s adaptable.
“You can add stuff to it and make it taste however you want,” she said. “It’s flexible and fun.”
Talia’s Vanilla Mug Cake
¼ cup and 1 ½ tsp flour
2 Tbsp granulated sugar
¼ tsp baking powder
1 ½ Tbsp oil
3 Tbsp milk
½ tsp vanilla extract
1 tsp sprinkles and or whipped cream/frosting (optional)
Mix together the flour, sugar and baking powder in a microwave safe mug.
Then add the oil, milk and vanilla extract to the dry ingredients and mix them all together.
Add sprinkles, if you like.
Bake in the microwave for 1 minute and 30 seconds. Then add on whipped cream or frosting, if you like.
Enjoy!














 More news and opinions than at a Shabbat dinner, right in your inbox.