
Because we’re all required to wear face masks when we go out in public now, I’ve been on the lookout for an easy face mask tutorial. I don’t like to sew, and I don’t have any extra fabric in the house, so that did limit what I could make. I tried the no-sew method using a bandana and a rubber band you’ve probably seen shared on the internet, but it didn’t work for me — the folded bandana did not fit snugly on my face, and the rubber bands kept slipping off my ears.
On the Centers for Disease Control and Prevention website, I found a super easy tutorial using a T-shirt. I liked how nice the T-shirt felt against my face, but the fit of the straps, which I had to tie behind my head, was still awkward. Plus, there was only one layer of fabric in the mask, and I wanted two.
I decided the T-shirt idea was worth saving, however. T-shirts are great because everyone has some extras in the closet that they don’t wear anymore. And the fabric doesn’t fray, so you don’t have to hem it. After a lot of experimentation, here is the technique I like best. It’s still amazingly simple to make, and you can fashion many masks out of one shirt.
Keep in mind that this DIY face covering is not a medical grade surgical mask, and that wearing a face mask is more about protecting other people from your germs rather than the other way around. A face covering also is not a substitute for social distancing or frequent hand washing.
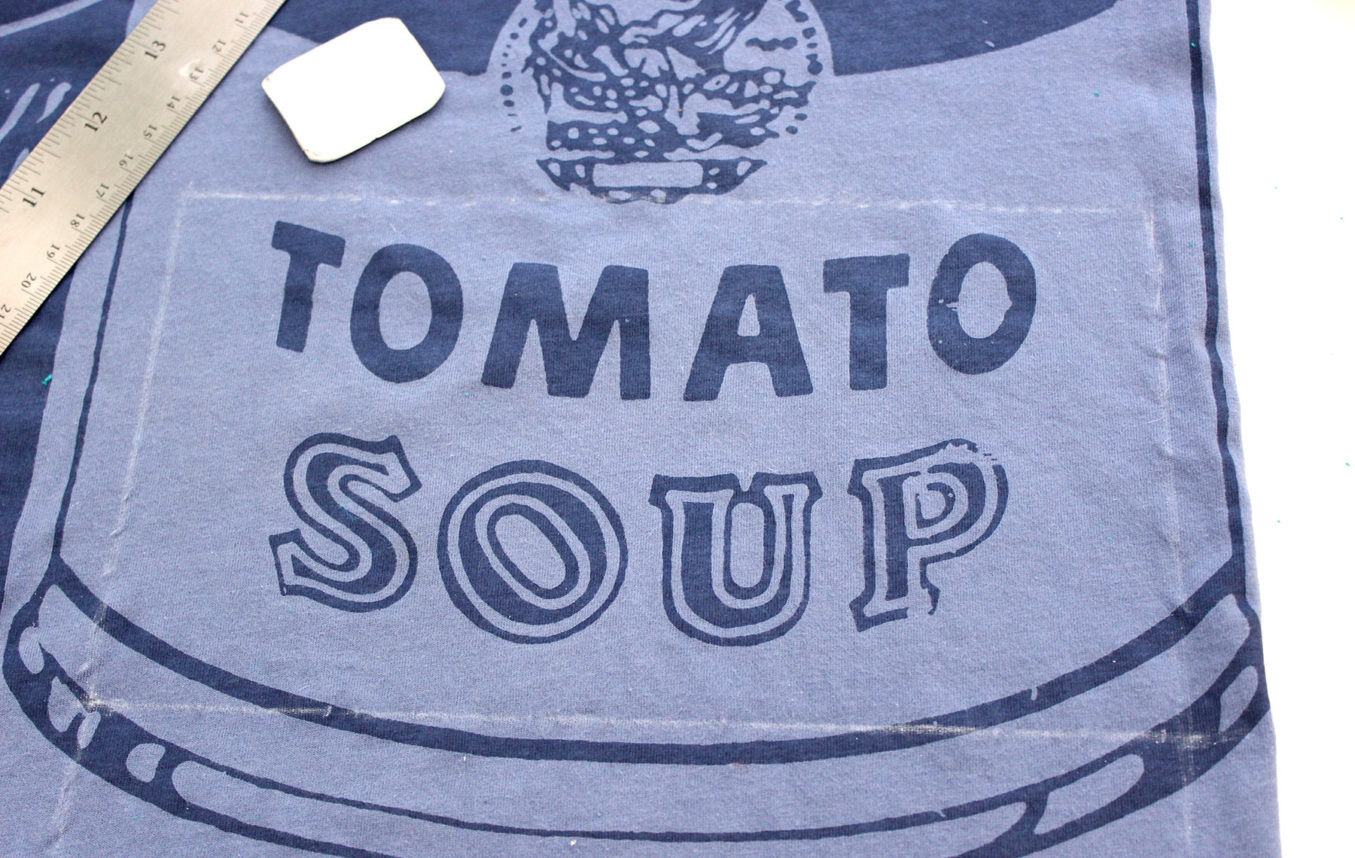
1. Using a pencil or fabric chalk, outline a 5-by-9-inch rectangle on a T-shirt. This size was ideal for my face, with the mask covering my nose down to just under the chin. You might want to adjust the size to fit you better.
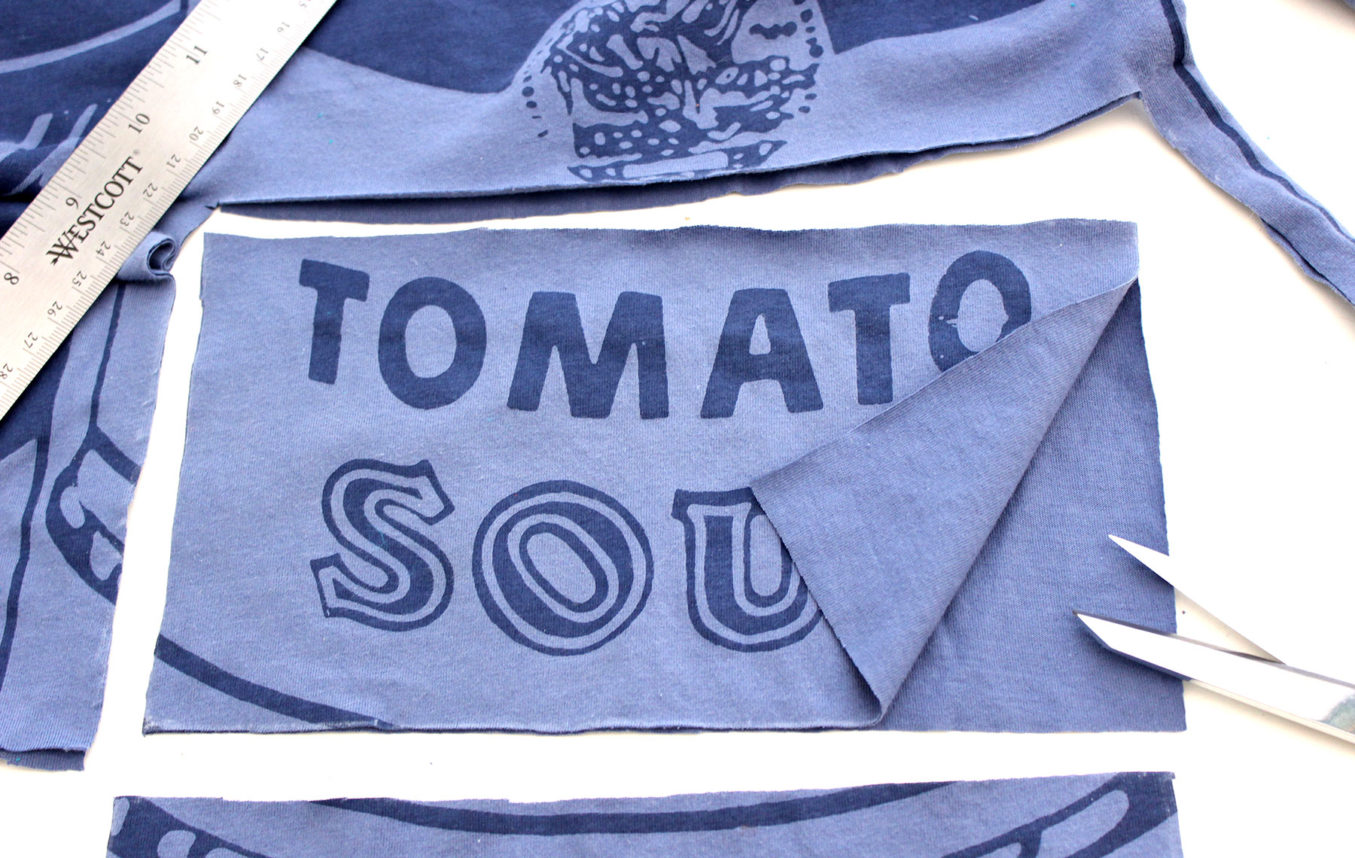
2. This face mask has two layers. If you are using a solid colored shirt, I would recommend using another color for the second layer so you can keep track of which side is front and which is back. I used a T-shirt with a printed design, so I just used the plain, back side of the T-shirt as the second layer. Cut both layers simultaneously along the outline to make sure they are identical in size.

3. Fold each of the short sides about a half inch and cut quarter-inch slits evenly spaced along the fold. You have room for about 10 slits. This creates holes on the left and right side of the mask to insert a cord.

4. To make the cords, cut two 1-by 9-inch pieces of fabric from your T-shirt scraps. Pull the strips, and they will become skinny and stretchy like shoelaces, growing to about 12 to 14 inches in length.
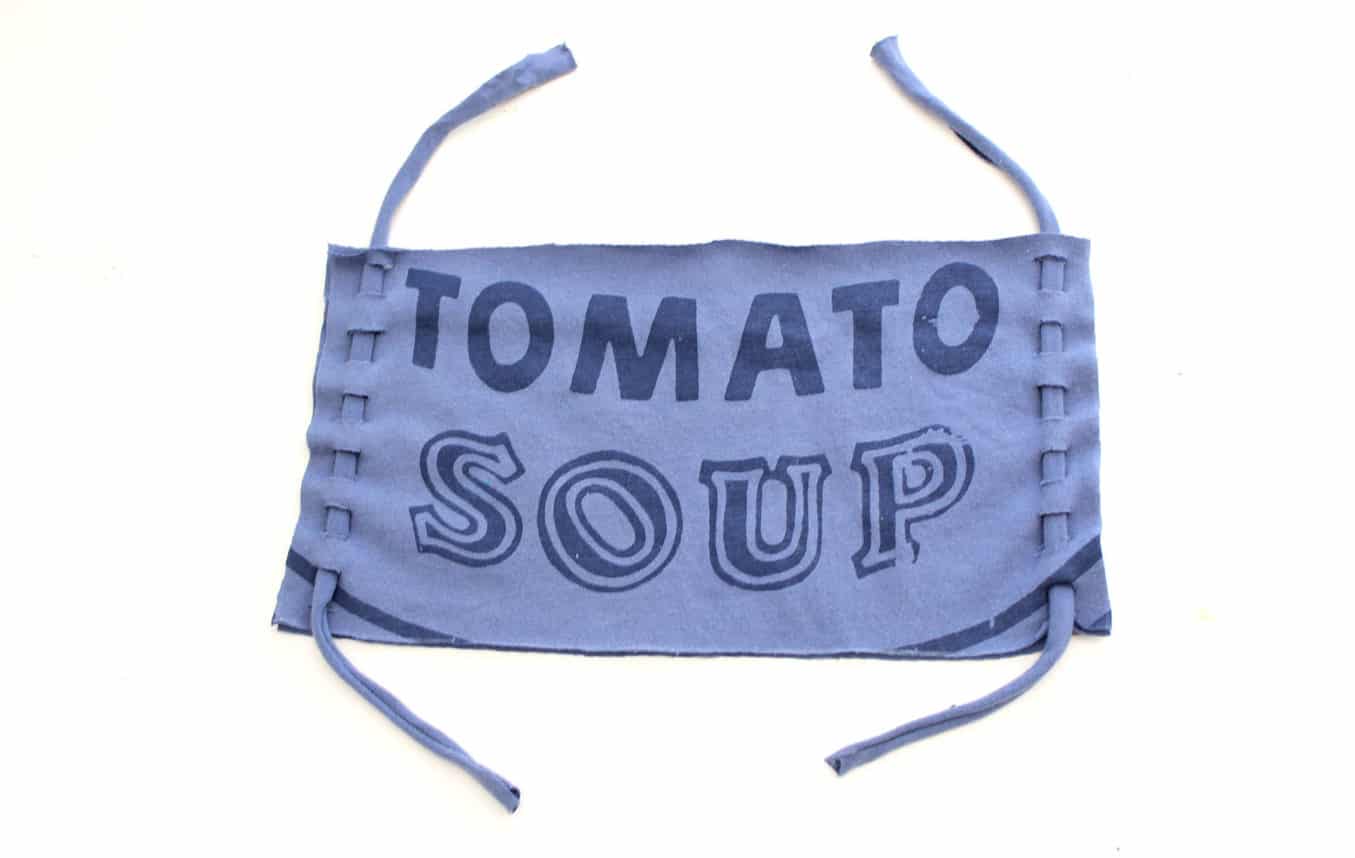
5. Weave the cords through the holes on both sides of the mask. This step will interlock the two layers of fabric. I did not sew the two layers together. Having the opening allows you to insert a filter between the layers if you wish.
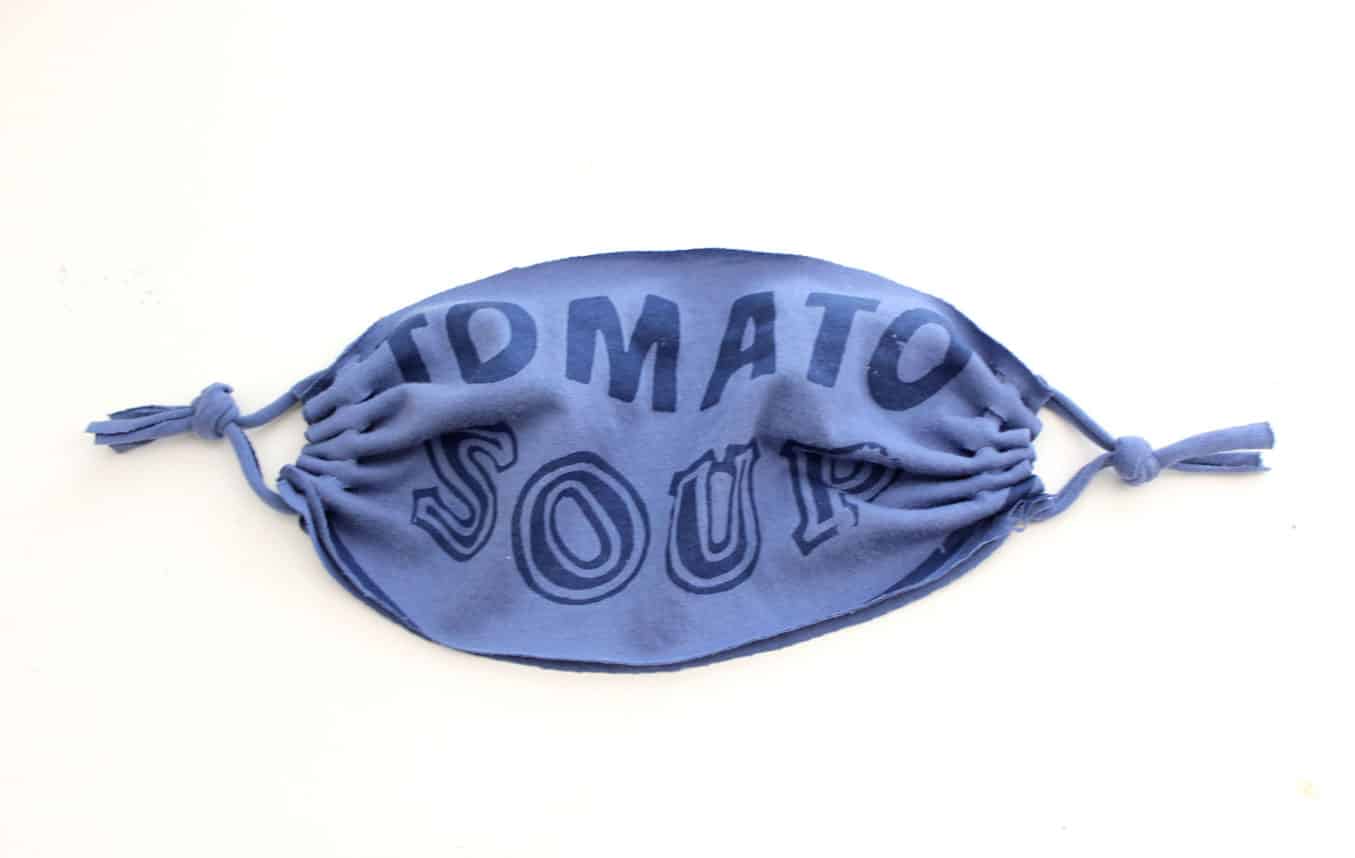
6. Pull the cords tight at each end to gather the fabric. Then tie a knot around the cords to form ear loops. Make the knots loose at first so you can adjust them to fit around your ears. When you’re happy with the fit, tighten the knots.
Jonathan Fong is the author of “Flowers That Wow” and “Parties That Wow,” and host of “Style With a Smile” on YouTube. You can see more of his do-it-yourself projects here.






 More news and opinions than at a Shabbat dinner, right in your inbox.