 Photos by Jonathan Fong.
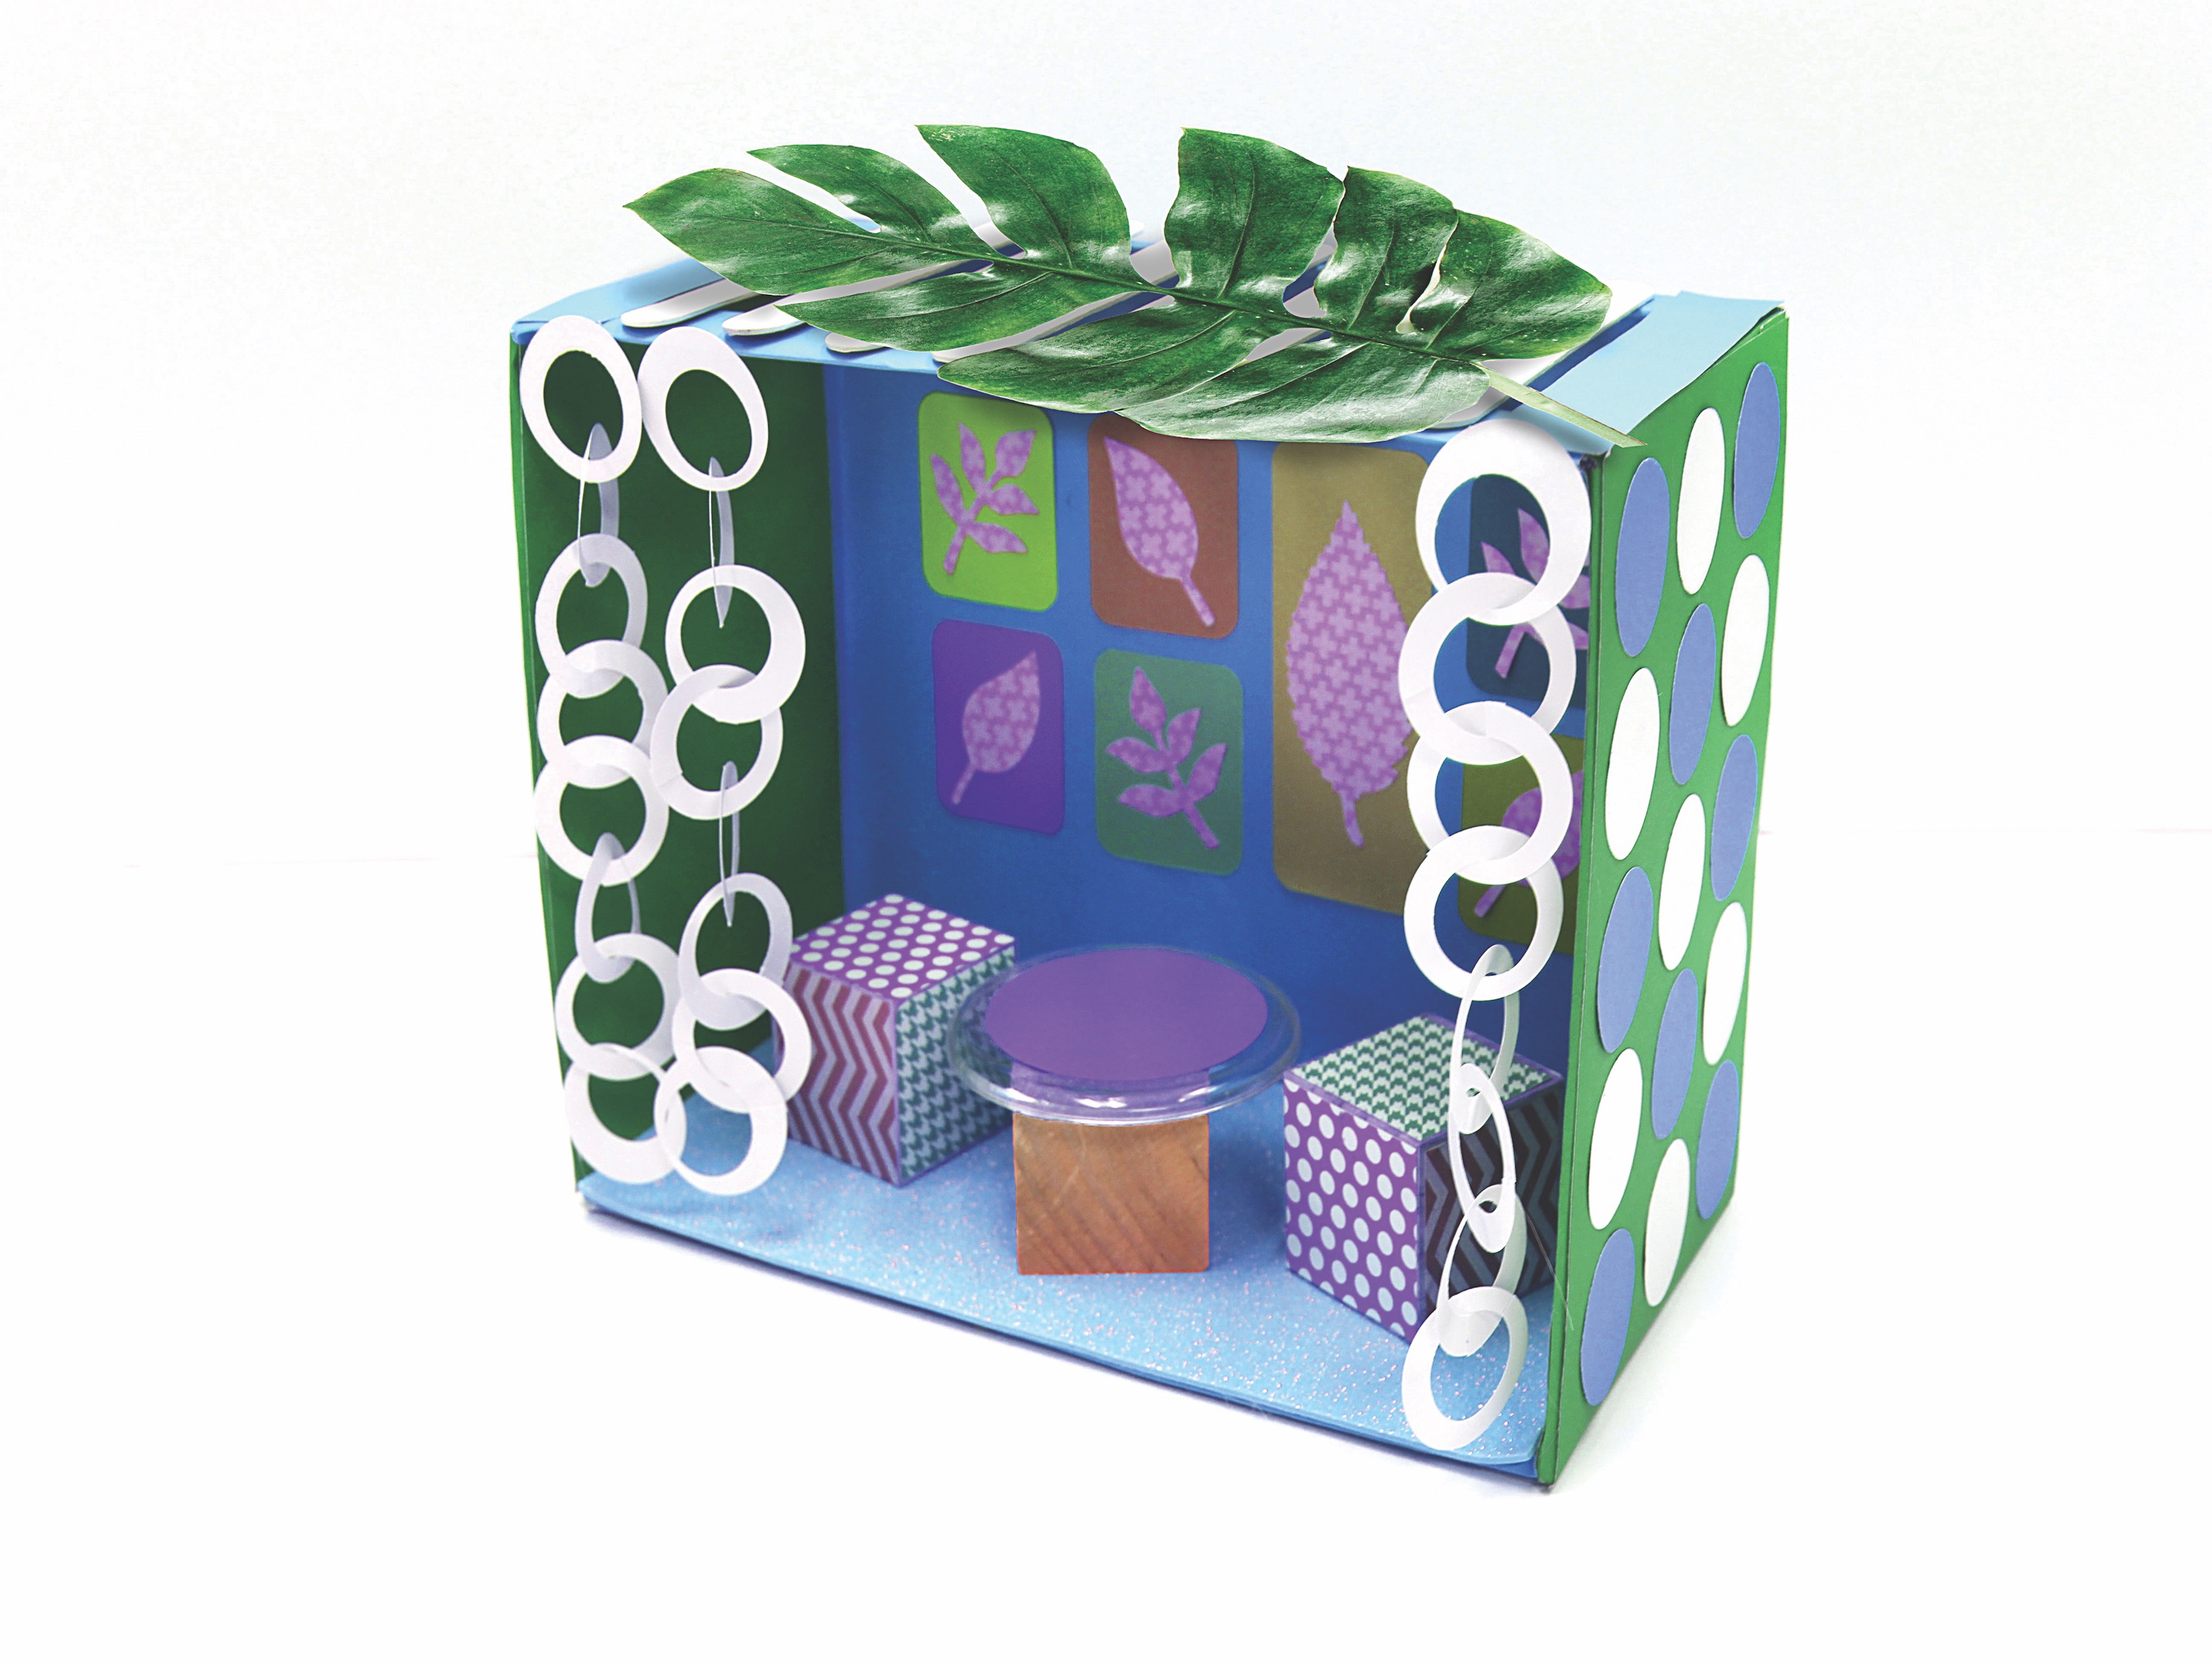
 There’s great joy in the mitzvah of building and decorating a sukkah. To introduce kids to this beloved tradition, making a toy sukkah is fun activity that also provides an opportunity to teach the little ones about the Sukkot holiday.
As you create the sukkah, you can explain what Sukkot signifies and go through the rules of sukkah-building, such as how many walls and what you can use for the schach, the roof material. The holiday will definitely be more meaningful for them — and the whole family.
What you’ll need:
Cardboard box
Hobby knife
Colored paper
Glue
Popsicle sticks
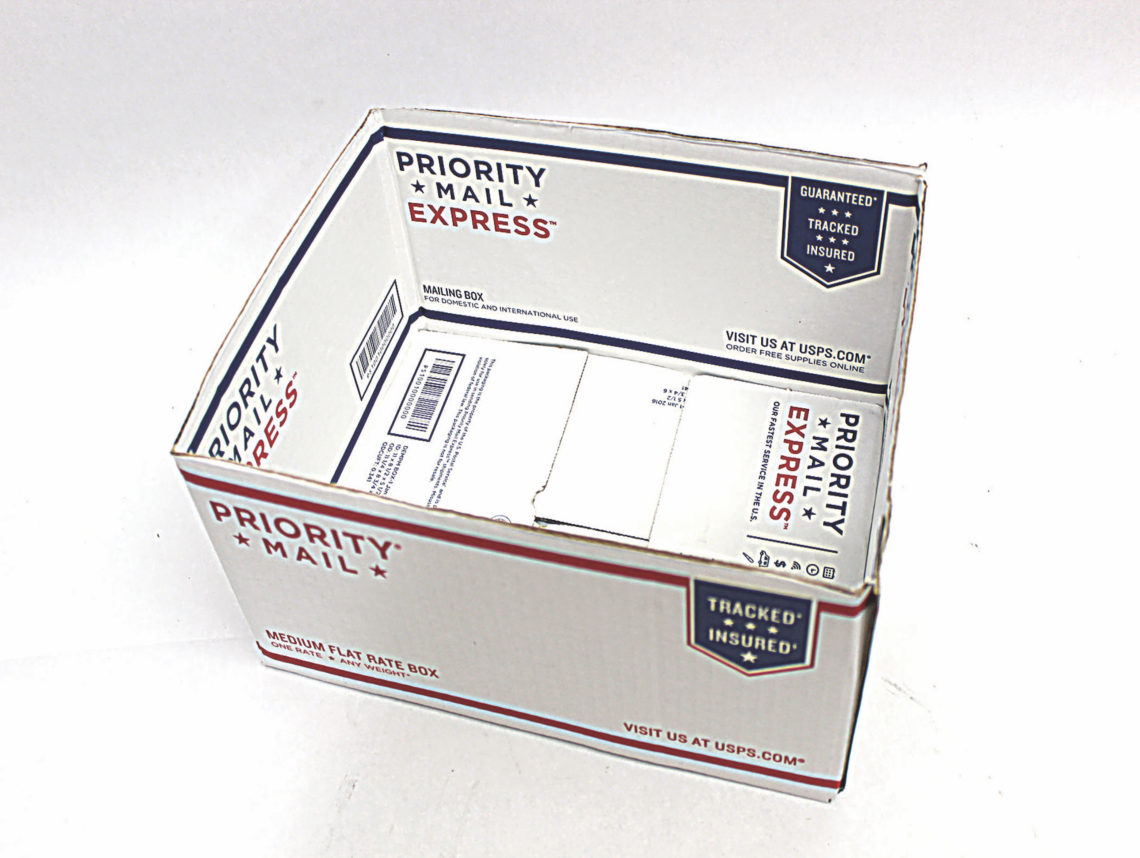
1. Cut the flaps off a medium-size cardboard box with a hobby knife. I recycled a mailing box. You also can use a shoebox, which doesn’t even have flaps. (Never let the kids get near a hobby knife — they’re sharp.)
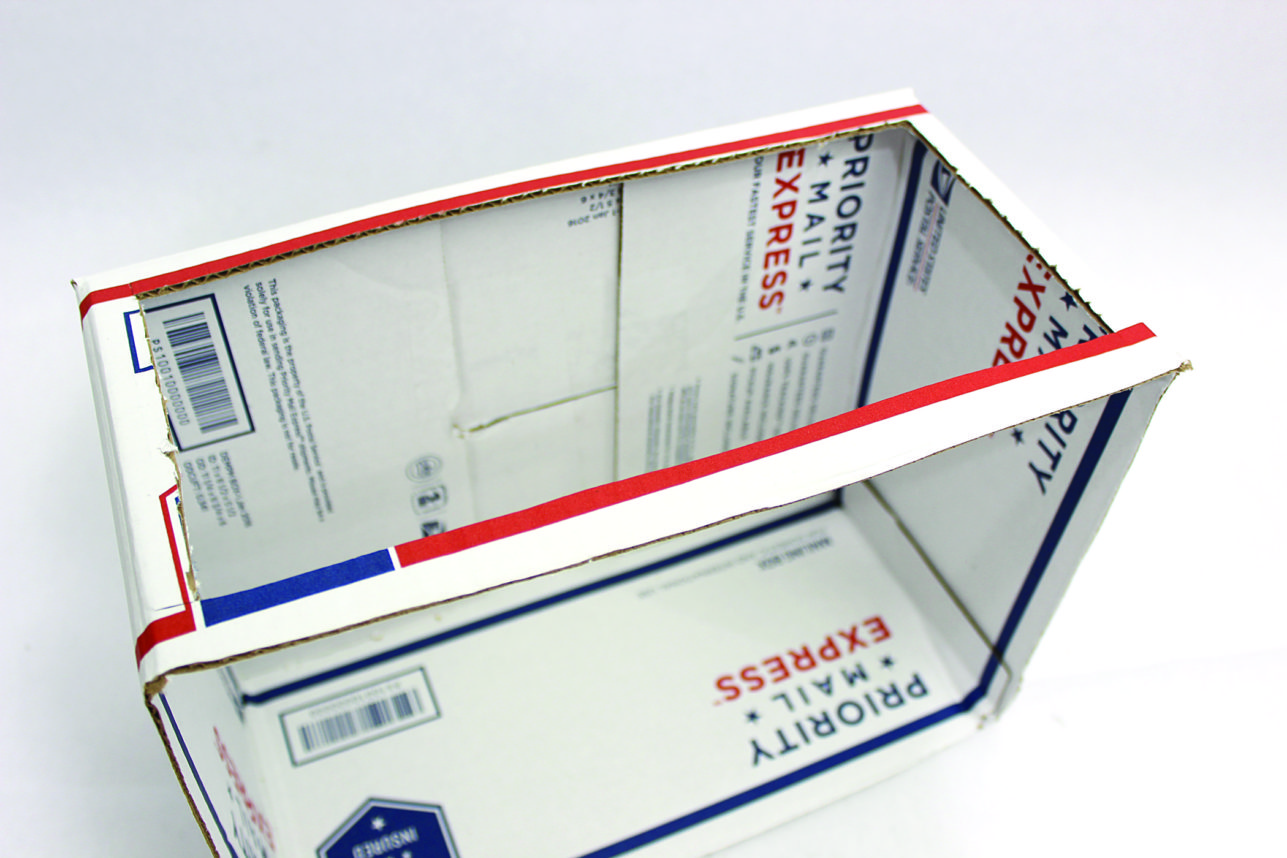
2. Decide which side of the box will be your roof. Cut an opening on this side so the roof is exposed. The schach will later cover this opening.
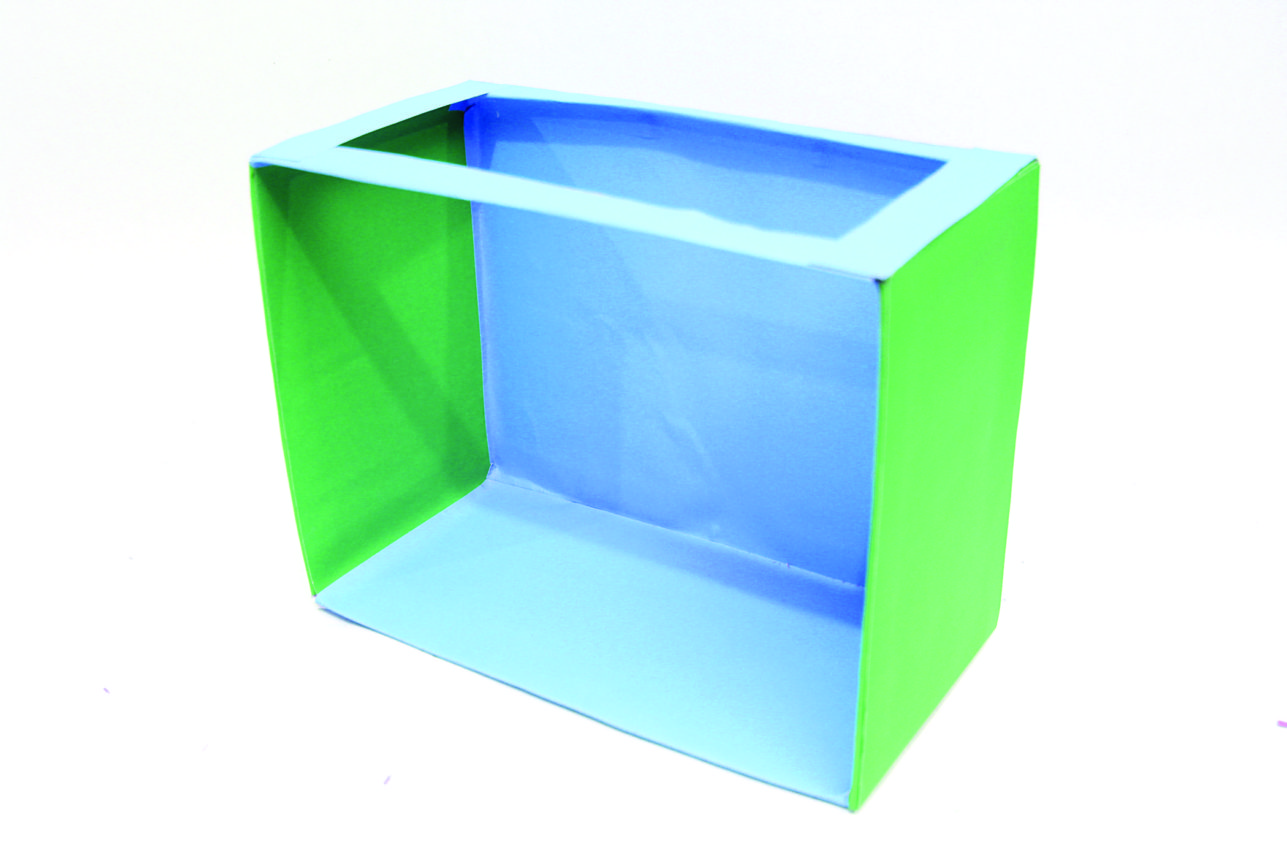
3. Glue colored paper to the interior and exterior of the box. For simplicity, you can also leave the box as is, or even paint it.
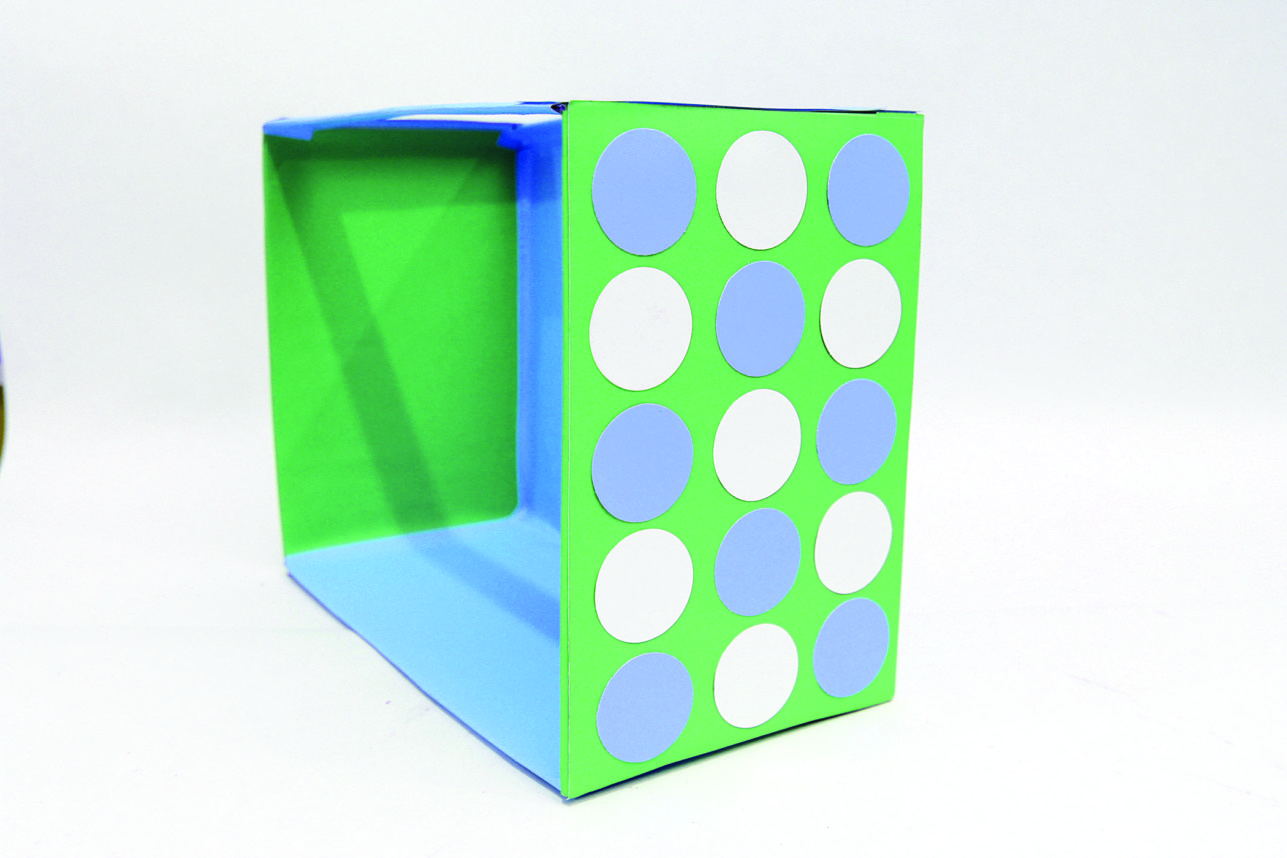
4. Decorate the exterior walls, if you wish. I cut out circles and glued them to the left and right exterior walls.
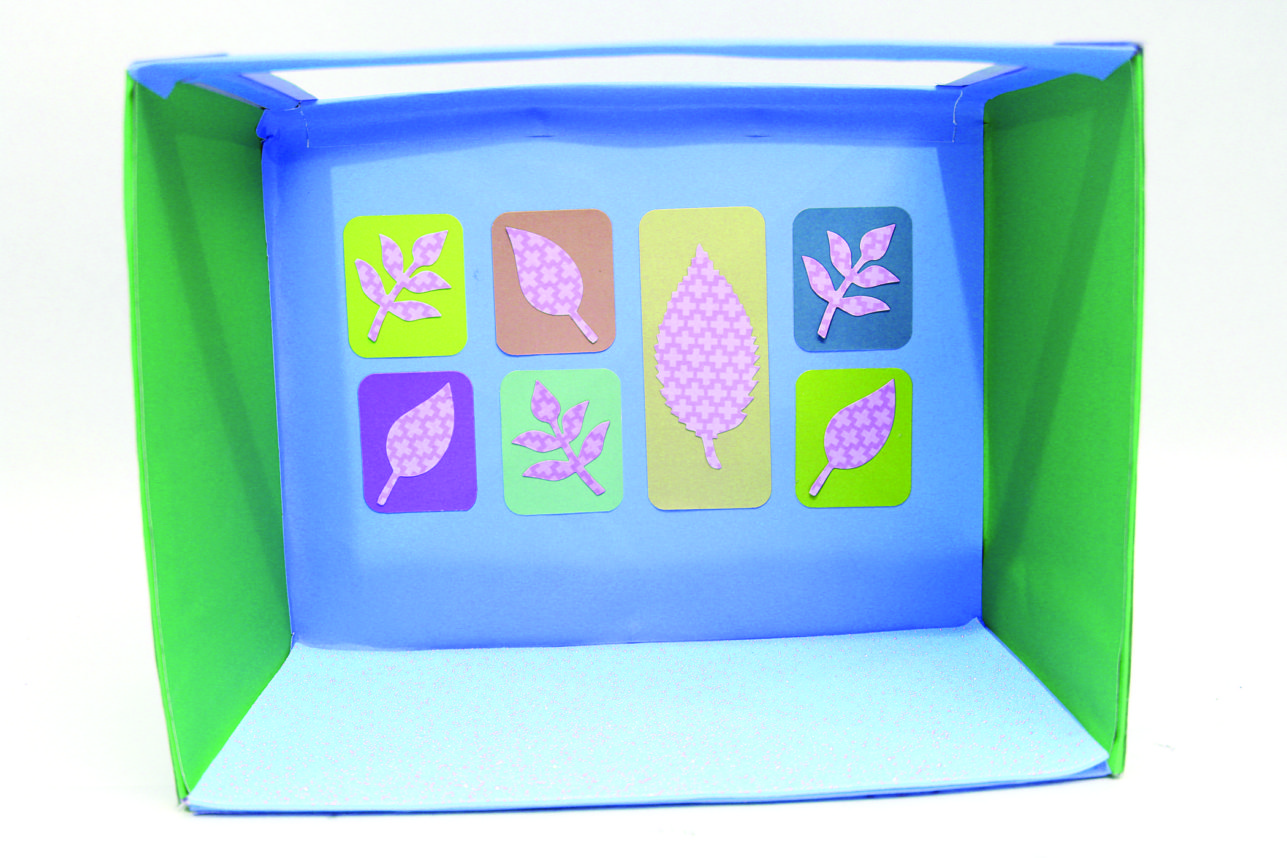
5. Decorate the interior walls. You can use stickers or family photos. I cut out leaf shapes and glued them onto colored rectangles to make autumn-themed artwork.
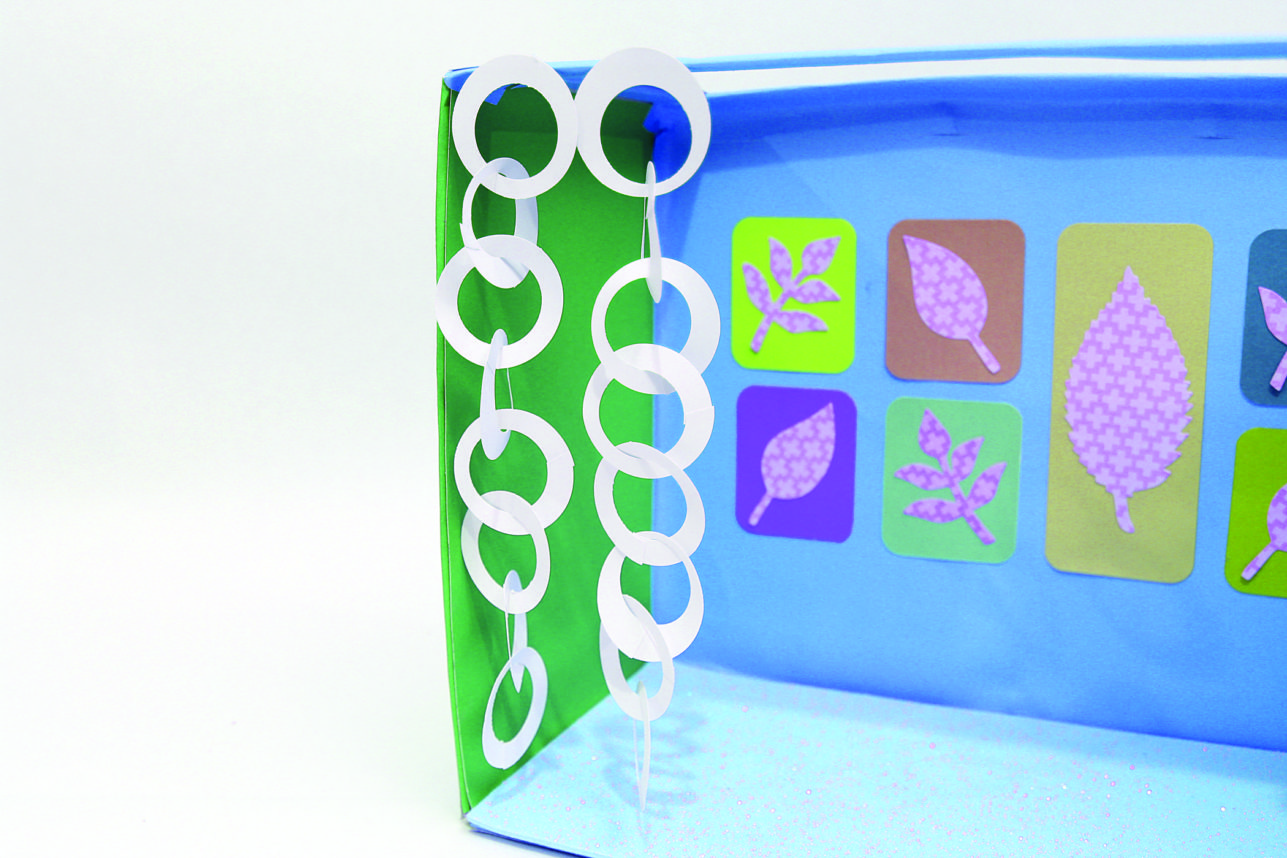
6. Make garlands by attaching circle loops to one another, and hang them from the roof.
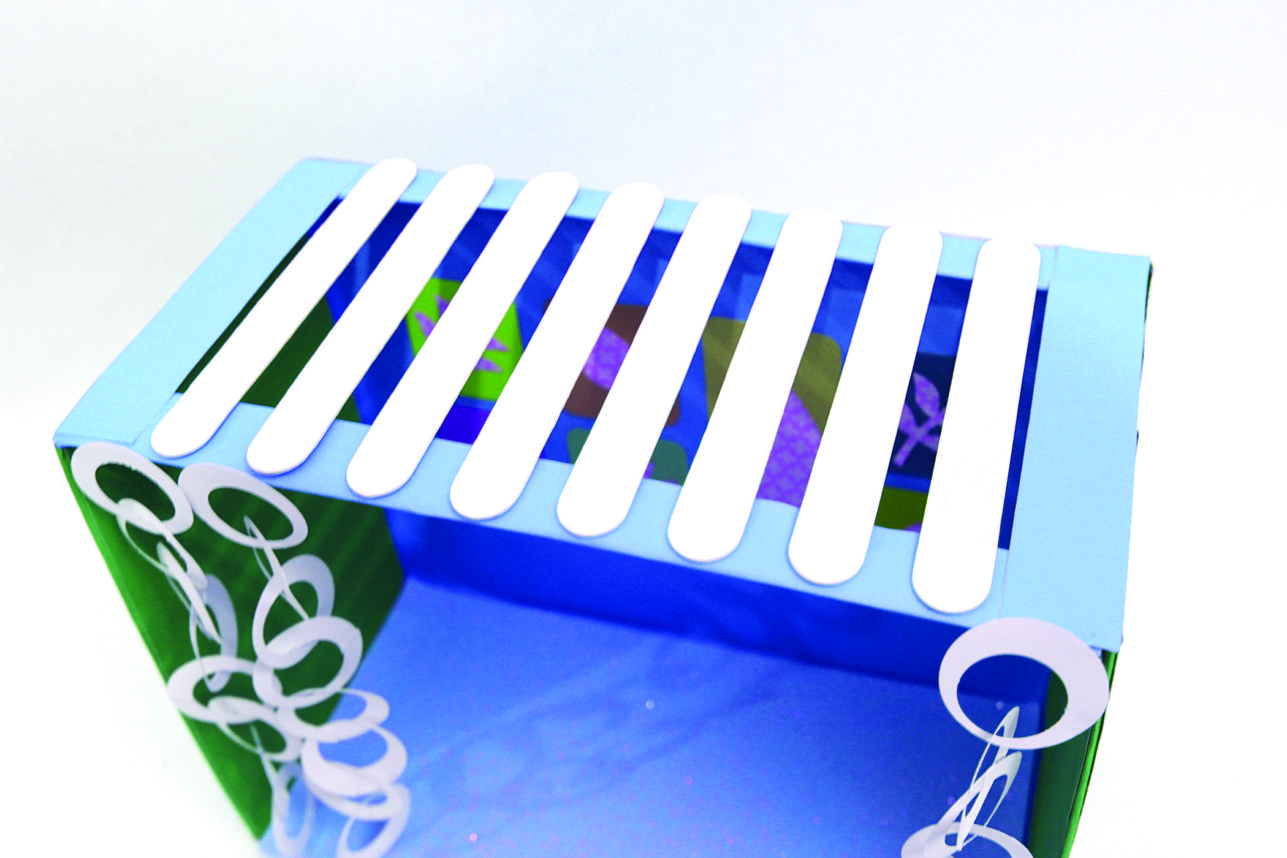
7. For the wood slats of the schach, lay down wooden Popsicle sticks across the opening in the roof. Then place branches or other vegetation on them.
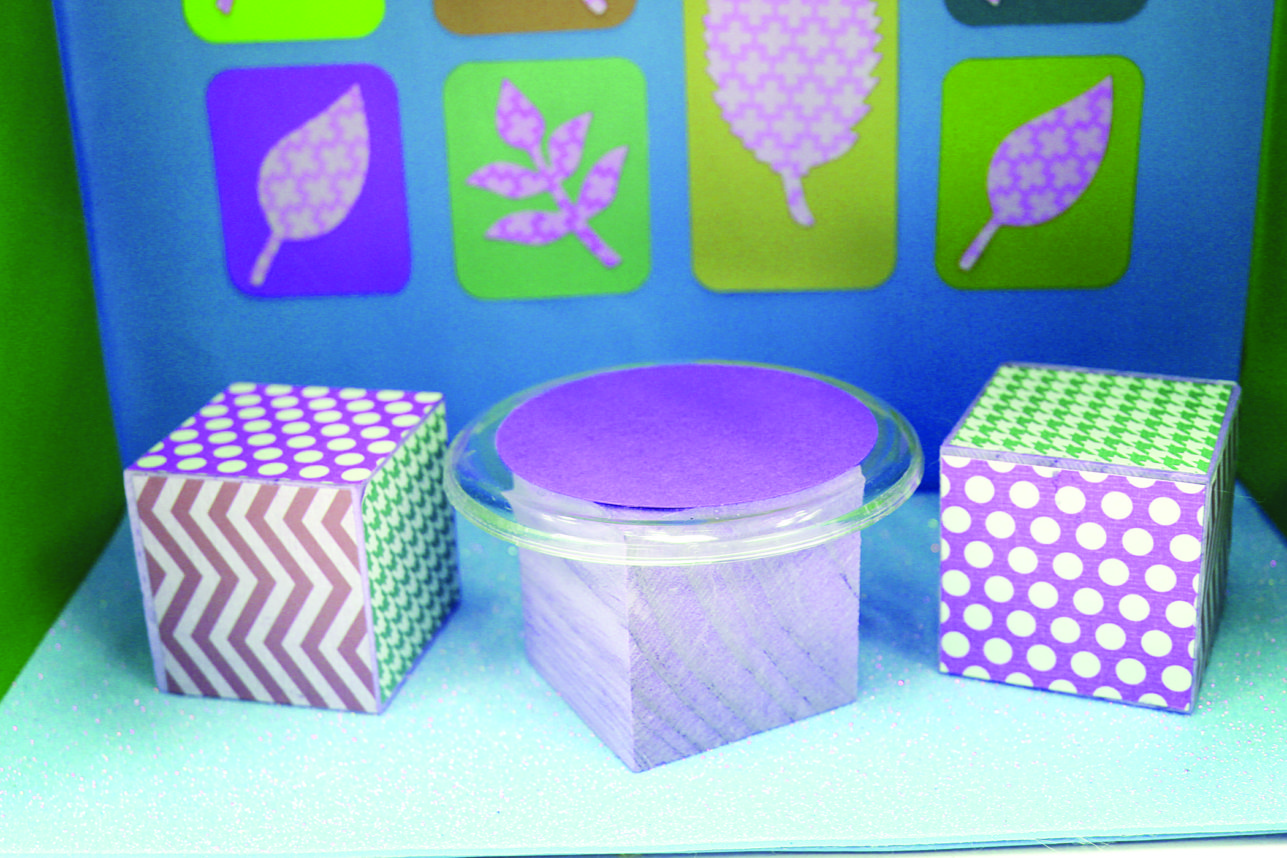
8. Furnish the interior however you’d like. I made stools by covering wood blocks with colored paper and made a table out of a plastic lid glued onto another block.
Jonathan Fong is the author of “Walls That Wow,” “Flowers That Wow” and “Parties That Wow,” and host of “Style With a Smile” on YouTube. You can see more of his do-it-yourself projects at jonathanfongstyle.com.








 More news and opinions than at a Shabbat dinner, right in your inbox.