
At this time of year, I always get a compulsion to decorate the house with fall colors as if I live in New England, even though here in sunny Southern California the leaves have barely changed. Good thing there are artificial fall leaves! I bought a garland of them at the crafts store, and this decorative bowl made with the leaves is my first home décor project of the season.
Because the bowl is fashioned entirely from leaves and glue, the sides will not be rigid enough to hold heavy objects or butternut squash soup, but it should be sturdy enough for fall knickknacks such as pine cones. Or, display it on its own — the bowl is so beautiful it can handle the attention.
You may be wondering if it’s possible to use actual dried leaves instead. I would advise against it. My experience with real leaves is that they get too brittle. The artificial ones make the bowl more durable.
This project would be a great activity to do with the kids because the tactile experience of dipping the leaves in glue is just too much fun. It brought me back to my kindergarten class with Mrs. Klett (aah, good times). Just be sure that everyone wears an apron, and cover your work area with plenty of newspapers or butcher paper.
What you’ll need:
Mixing bowl
Plastic cling wrap
Tall can
Petroleum jelly
White glue
Water
Artificial leaves
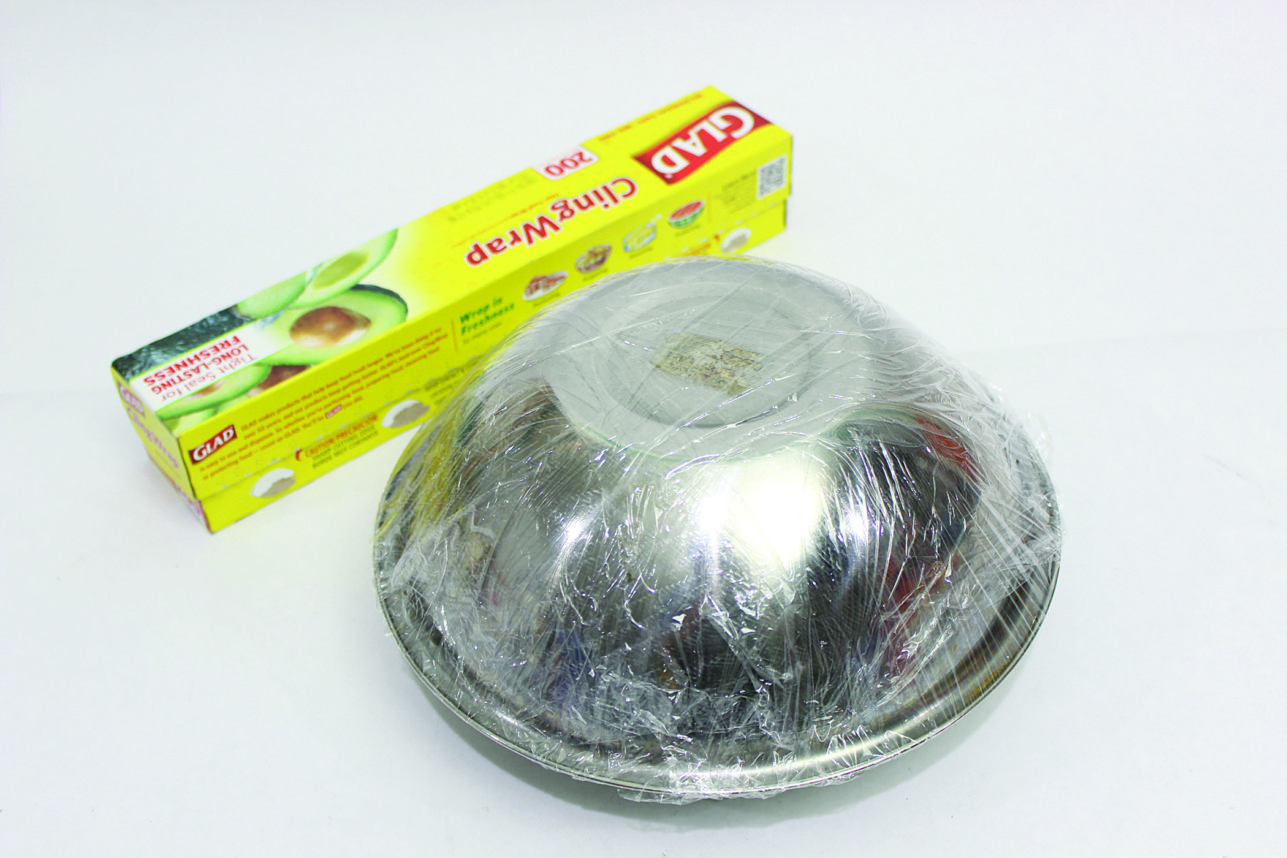
1. Wrap the bottom of a mixing bowl with cling wrap. I used a 10-inch bowl, but you can select any size you wish. Invert the wrapped bowl and position it on a tall can (e.g., a can of vegetables) to elevate it.

2. Spread a thin layer of petroleum jelly around the surface of the bowl where the cling wrap is. The petroleum jelly will keep the leaves from sticking to the cling wrap.

3. In a disposable container, mix two parts white glue with one part water. Stir until the mixture has a smooth consistency.
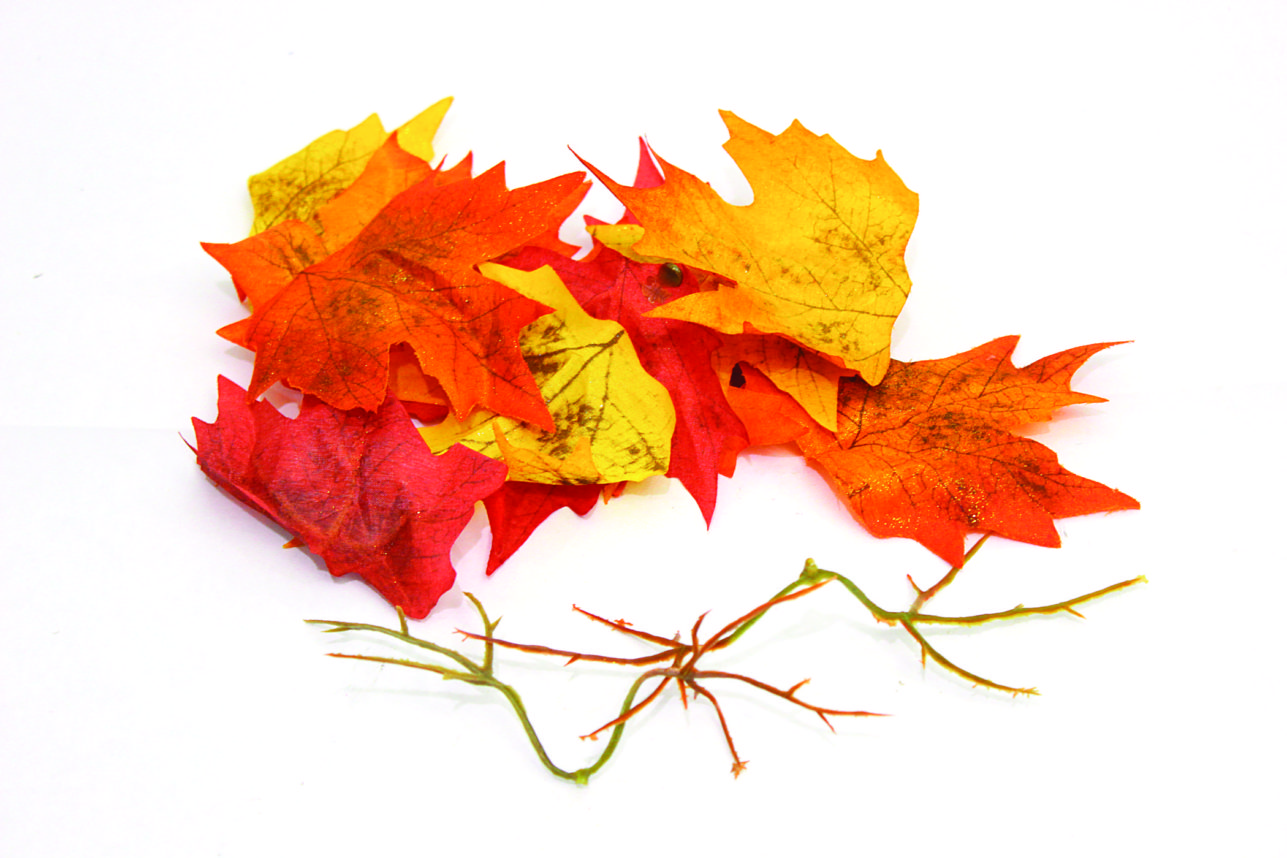
4. Artificial leaves usually come with plastic “veins” to make them look realistic. The leaves will lie flatter on the bowl if you remove these veins. You can just peel them off, as the adhesive is not too strong.

5. Dip the leaves in the glue mixture and shake off any excess glue. This is the fun part.
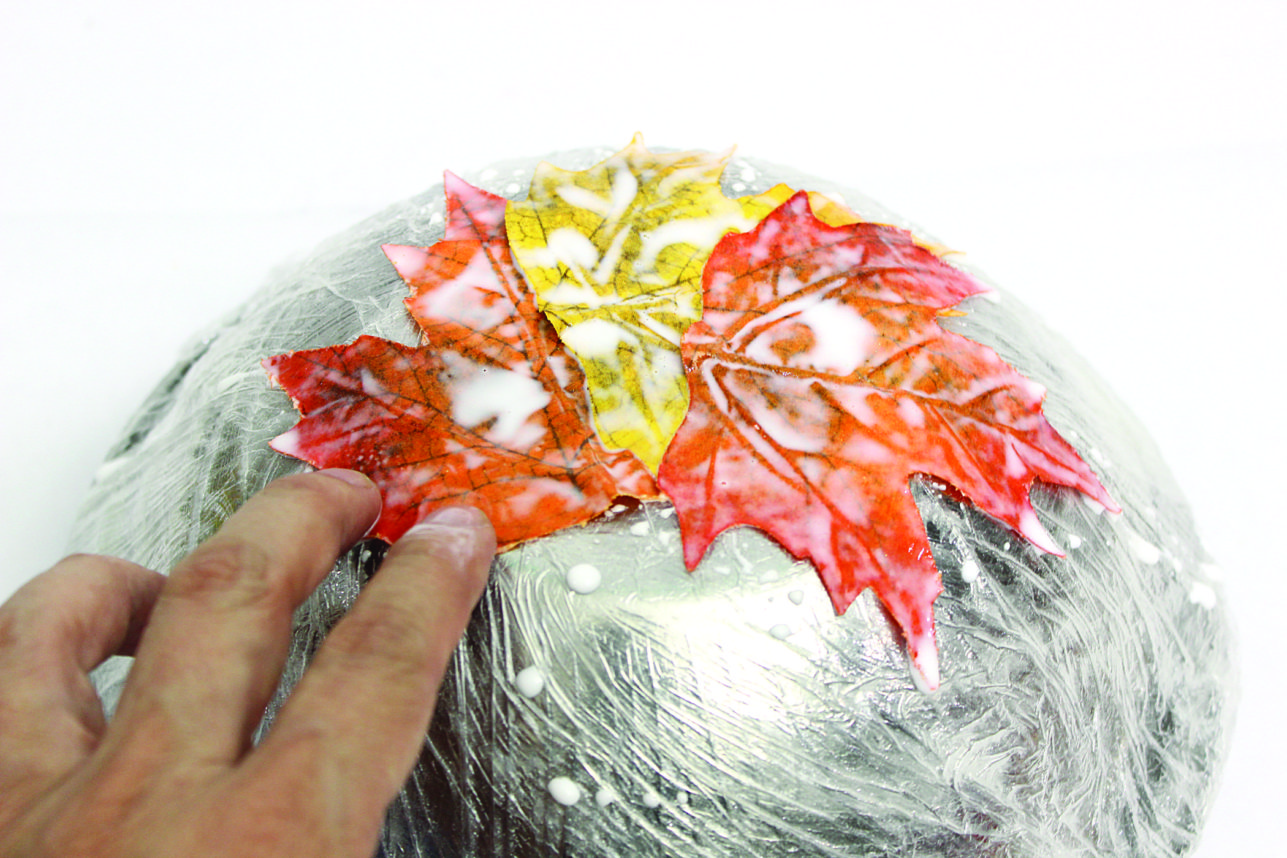
6. Position the leaves on the bowl, overlapping as you go. Press down the leaves with your fingers so they lie flat.
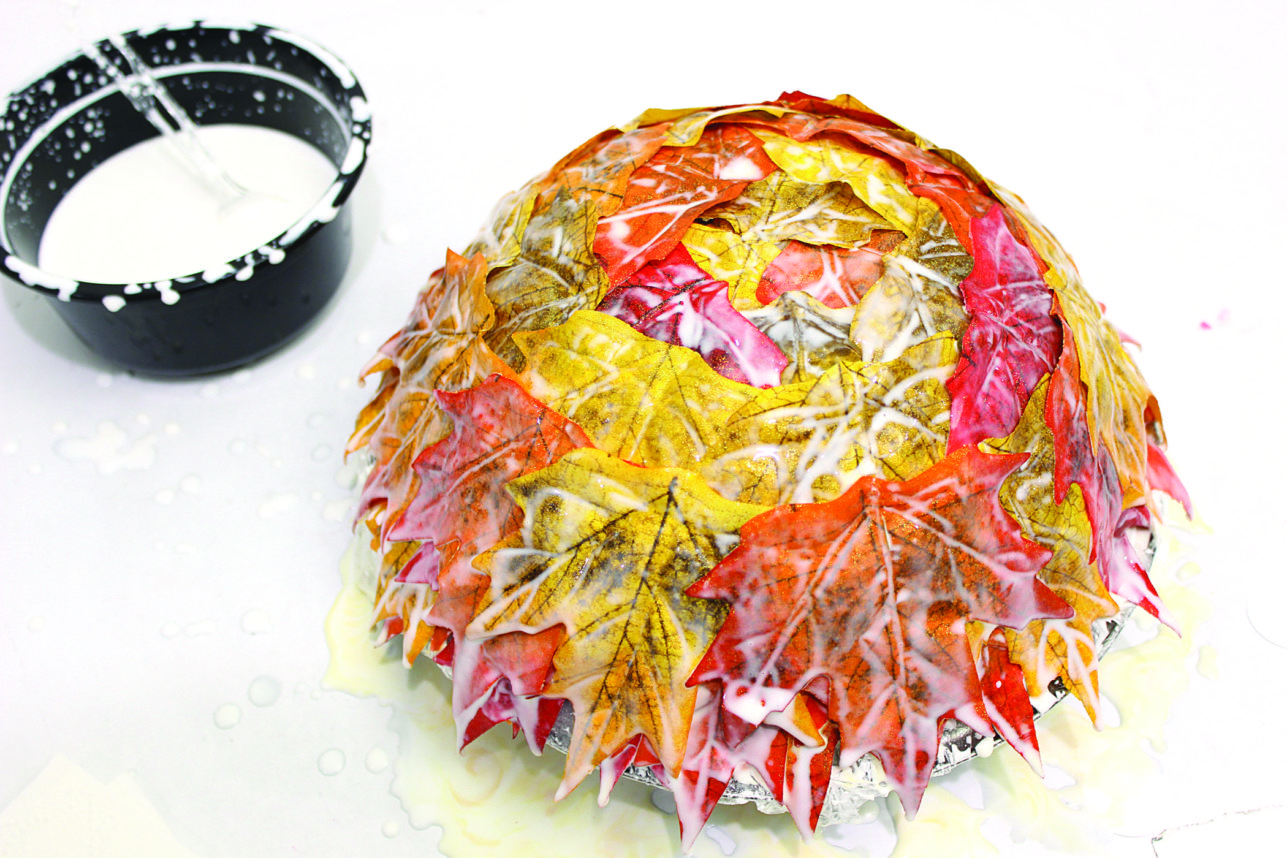
7. Keep going until you’ve covered the bowl. Then repeat and add another layer of leaves. For an even thicker bowl, you can add a third layer.
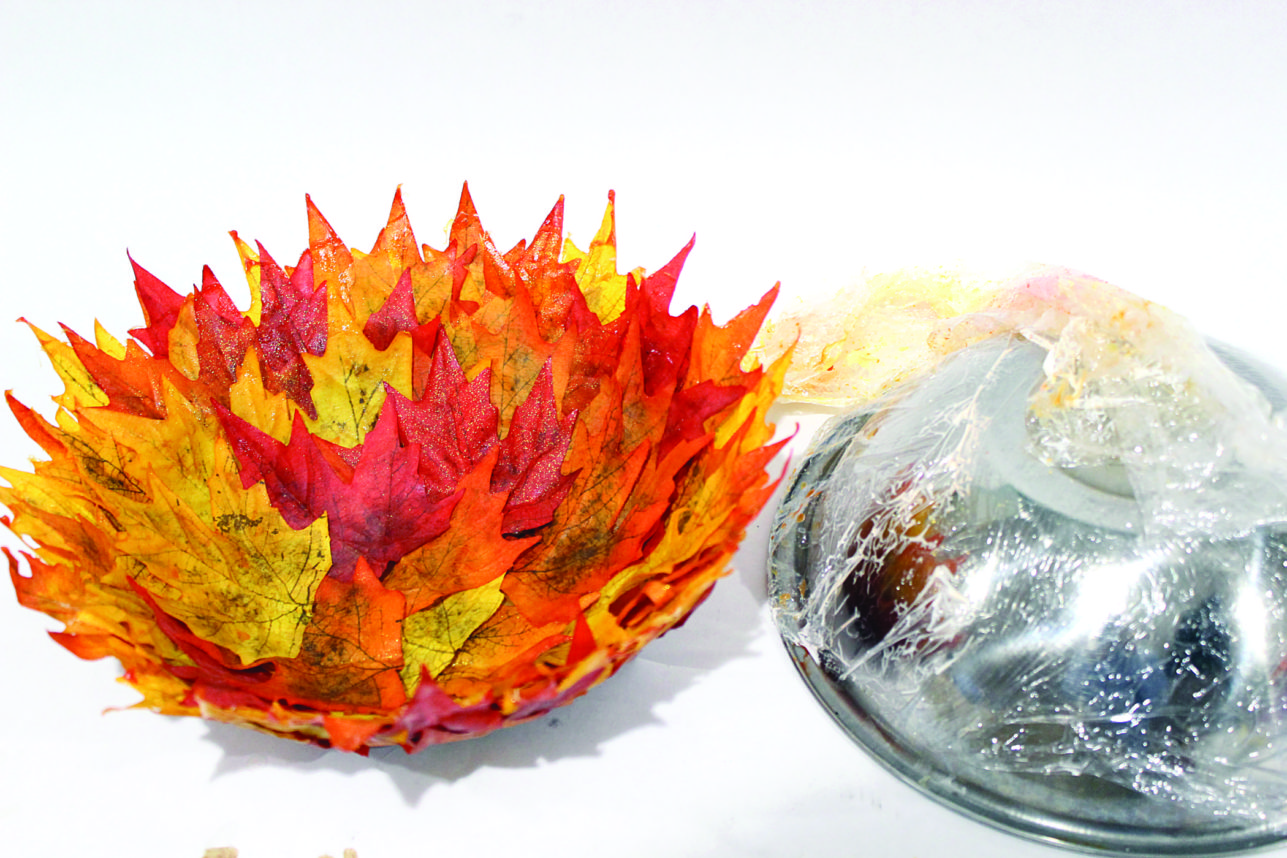
8. Let the glue dry for 24 hours. Then separate the plastic and the leaf bowl from the mixing bowl. When I unveiled mine, some of the leaves stuck to the plastic. No biggie. I just peeled them off the plastic and glued them where they belonged inside the bowl.
Jonathan Fong is the author of “Walls That Wow,” “Flowers That Wow” and “Parties That Wow,” and host of “Style With a Smile” on YouTube. You can see more of his do-it-yourself projects at jonathanfongstyle.com.







 More news and opinions than at a Shabbat dinner, right in your inbox.