

I’ve been away for a couple of weeks and it’s good to be back. I hope you all had a fuzzy wuzzy Mommy’s Day. We had fun in Santa Monica. Next Sunday, May 15th is Big Sunday – the giant mitzvah day for all humans wishing to participate as created by tikkun olam guru David Levinson right here in Los Angeles. I am honored to be a Project Captain for some cleaning, painting, building and more at the Mid Valley Family YMCA in Van Nuys, 6901 Lennox Avenue CA 91405-4002. Our project is #461 and WE STILL NEED VOLUNTEERS. The following link will take you to Big Sunday’s “all about” page. From there, you’ll easily figure out how to sign up: http://www.bigsunday.org/about-us/who-we-are/. Next week I’ll feature photos and possibly a video about what promises to be a great day (9 a.m. – 3 p. m) at the Y.
During my break I spent lots of time learning to play the guitar, thanks mainly to my clergy pal Rabbi Cantor Mark Goodman of Congregation Valley Beth Israel in Sun Valley, who introduced me to a great guitar teacher named Tim Murphy. Tim teaches privately in Burbank, California. Come join us at Valley Beth Israel Friday, May 20, 2011 at 8 p.m. for “Rockin’ Shabbat.” Rabbi Mark created this several months ago with Rabbi Steve Finley, another Academy For Jewish Religion graduate right here in Los Angeles,….and it has become a bit hit. Yours truly Cantor Harris Shore, AKA The Handy Hazzan will be playing guitar and singing. It’s a lot of fun. While I love having the services I lead accompanied by piano and other instrumentation, being self contained with my very own guitar is a new tool in my bag of “Do-It-Yourself” tricks. It’s never too late to embrace change …. and dance with it!
THE ICEMAKER WORKETH
With all this strumming and other business that needed my attention, I let a few things go around the house. Repair needs seem to multiply when you’re sleeping and then creep up on you (like “THE BLOB” – filmed in my hometown when I was just a kid), if you don’t conquer them when they first appear. Several items needed my attention. The first one I took care of the day before Passover …. hooked up the water source for the ice maker in the refrigerator. The previous owner had already installed the ¼” copper tubing leading from the water source to the previous refrigerator. All I needed was a ¼” ice maker stainless steel water supply line – DO NOT USE THE PLASTIC ONES, CAN BREAK OR CRACK EASILY – plus one or two compatible compression fittings, both of which I purchased from a plumbing supply house. Remember that “1/4 inch” refers to the diameter of the nut, one female nut on each end…. With no offense to all the wonderful gals who read my column! The length of the line could go as much as 18-20 feet, which makes it easy to roll the refrigerator away from the wall for cleaning, etc. You’ll need two adjustable wrenches, or one wrench and channel locks. See detailed instructions below. First, attach one end of the new supply line to the rear inlet on the refrigerator by hand-tightening the female nut to the male threaded inlet post on the back of the refrigerator, probably located at the bottom. This has a built-in compression piece. Attach the other end to one of the two male, threaded ends of the in-line (saddle type non-piercing – that means you don’t pierce the copper tubing – shut-off valve, which is a necessary and convenient precaution. This way, you can turn off the water on the supply line instead of having to turn off the water main. The old shut-off valve was still intact and working. I used the new compression fitting to connect the other end of the shut-off valve to the ¼” copper tubing leading to the water supply. I’ve not done anything with the old in-line water line filter. It’s still in place. I trust that our new, whole-house water filtering system is delivering pure drinking water now. Let’s be clear on the “how to” steps for attaching the water line. Here’s a copy of the instructions (Kenmore Elite) to which I referred when connecting the line:
Installation – Connecting Ice Maker To Water Supply
To avoid electric shock, which can cause death or severe personal injury, disconnect the freezer from electrical power before connecting a water supply line to the freezer.
To Avoid Property Damage:
• Copper tubing is recommended for the water supply line. Water supply tubing made of 1⁄4” plastic is not recommended since it greatly increases the potential for water leaks. Manufacturer will not be responsible for any damage if plastic tubing is used for supply line.
• DO NOT install water supply tubing in areas where temperatures fall below freezing. •Chemicals from a malfunctioning softener can damage the icemaker. If the ice maker is connected to soft water, ensure that the softener is maintained and working properly.
IMPORTANT: Ensure that your water supply line connections comply with all local plumbing codes.
Before Installing The Water Supply Line, You Will Need • Basic Tools: adjustable wrench, flat-blade screwdriver, and PhillipsTM screwdriver • Access to a household cold water line with water pressure between 20 and 120 psi. • A water supply line made of 1⁄4 inch (6.4 mm) OD, copper tubing. To determine the length of copper tubing needed,
you will need to measure the distance from the ice maker inlet valve at the back of the freezer to your cold water
pipe. Then add approximately 7 feet (2.1 meters), so the freezer can be moved out for cleaning (as shown). • A shutoff valve to connect the water supply line to your household water system. DO NOT USE A SELF-PIERCING TYPE SHUT-OFF VALVE -HH • A compression nut and ferrule (sleeve) for connecting the water supply line to the ice maker inlet valve.
NOTE: Water line kit number 5303917950, available from your appliance dealer at additional cost, contains 25 feet (7.6 meters) of 1⁄4 inch OD copper tubing, a saddle type shutoff valve (nonpiercing), (2) 1⁄4 inch brass compression nuts, (2) ferrules/sleeves, and instructions for installing a water supply line.
To Connect Water Supply Line To Ice Maker Inlet Valve
1. Disconnect freezer from electric power source.
2. Place end of water supply line into sink or bucket. Turn ON water supply and flush supply line until water is clear. Turn OFF water supply at shut-off valve.
3. Unscrew plastic cap from water valve inlet and discard cap.
4. Slide brass compression nut, then ferrule (sleeve) onto water supply line, as shown.
5. Push water supply line into water valve inlet as far as it will go (1⁄4 inch). Slide ferrule (sleeve) into valve inlet and finger tighten compression nut onto valve. Tighten another half turn with a wrench; DO NOT over tighten.
6. With steel clamp and screw, secure water supply line to rear panel of freezer as shown.
7. Coil excess water supply line (about 21⁄2 turns) behind freezer as shown and arrange coils so they do not vibrate or wear against any other surface. (HH: I USED SEPARATE WATER LINE INSTEAD OF COILING THE COPPER TUBING.)
8. Turn ON water supply at shutoff valve and tighten any connections that leak.
9. Reconnect freezer to electrical power source. 10. To turn icemaker on, lower wire signal arm (see ice maker front cover for ON/OFF position of arm).
IMPORTANT: It takes approximately 24 hours for the icemaker to begin producing ice. (HH NOTE: IT TOOK OURS NEARLY 48 HOURS TO BEGIN PRODUCING ICE.) Air in new plumbing lines may cause ice maker to cycle two or three times before making a full tray of ice. New plumbing may cause ice to be discolored or have poor flavor. Discard ice made during the first 24 hours.
SECOND HH TIP: DISSOLVE A FEW CUBES OF THE NEW ICE INTO A WHITE DISH OR BOWL. WAIT FOR IT TO MELT OR PUT IT ON THE STOVE TO SPEED MELTING. WHEN THE ICE HAS MELTED, YOU MAY SEE SEDIMENT PARTICLES, ETC. CONTINUE TO DO THIS WITH EACH BATCH OF ICE UNTIL THE ICE MELTS CLEAN AND CLEAR.
Ice Service
If your freezer has an automatic ice maker, it will provide a sufficient supply of ice for normal use. During the initial start-up of your freezer, however, no ice will be produced during the first 24 hours of operation. Automatic ice makers are also optional accessories that may be installed in some models at any time. Call your local dealer for information.
TURNING YOUR ICE MAKER ON
After the plumbing connections have been completed, the water supply valve must be opened. Place the ice container under the ice maker, pushing it as far back as possible. Lower the wire signal arm to its “down” or ON position. New plumbing connections may cause the first production of ice cubes to be discolored or have an odd flavor. These first cubes should be discarded until the cubes produced are free of discoloration and taste.
TURNING YOUR ICE MAKER OFF
To stop the ice maker, lift the wire signal arm until it clicks and locks in the “up” or OFF position. The ice maker also turns off automatically when the ice container is full. If your model has an adjustable freezer shelf, place the shelf in the lower position, so that the wire signal arm will hit the ice when the container is full.
ICE MAKER TIPS
Ice Maker
Leveling Bracket
1” or less
Ice Container
IMPORTANT: Your icemaker is shipped with the wire signal arm in the ON position. To ensure proper function of your ice maker, hook up water supply immediately or turn ice maker OFF by lifting the wire signal arm until it clicks and locks in the UP position.
IMPORTANT: Check the leveling bracket on the icemaker to ensure the ice maker is level. If the gap between the freezer wall and the icemaker is the same at top and bottom, then the ice maker is level.
If the icemaker is not level, loosen the screw and slide the bracket to the correct position to make it level. Retighten the screw.
You’ll need a 1/4” socket wrench for this task.
• Ice cubes stored too long may develop an odd flavor. Empty the ice container and ensure that the wire signal arm is in its “down” or ON position. The ice maker will then produce more ice.
• Occasionally shake the ice container to keep ice separated. • Keep the wire signal arm in its “up” or OFF position until the freezer is connected to the water supply or whenever the
water supply is turned off. The following sounds are normal when the ice maker is operating:
• Motor running • Ice loosening from tray • Ice dropping into ice container • Running water • Water valve opening or closing
• Wash the ice container in warm water with mild detergent. Rinse well and dry. • Stop the ice maker when cleaning the freezer and during vacations. • If the ice maker will be turned off for a long period of time, turn the water supply valve to the closed position.
Do Not place the ice container in your dishwasher.
Enjoy your new ice cube harvest.
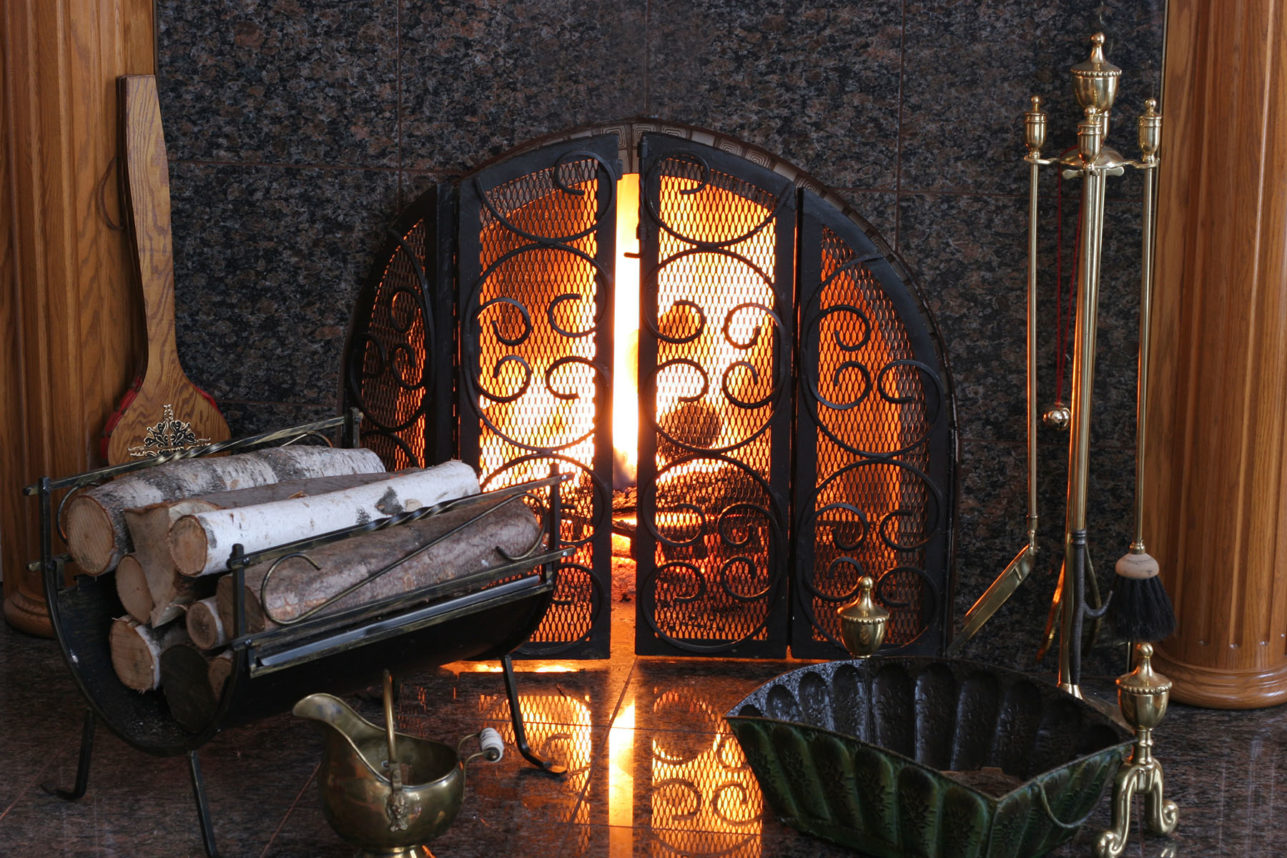
 As for repairing the lock, I had to lower the strike plate just about 3/16” to line up the bolt down the middle. After removing the plate, I chose the right size chisel and, hammering it perpendicular to the wood gently but firmly, cut into the bottom of the area I wanted to remove so that I could lower the plate. Then, from the top down, I delicately chiseled out the tiny area of wood necessary to extend the indented setting for the plate. I set the plate in first without screws, then closed the gate and turned the key to test the setting of the bolt into the strike plate. It was perfect. I drew a pencil line right at the bottom of the plate, just in case it were to fall off. With a cordless drill, I predrilled a hole a bit smaller than the shaft of the rustic, slotted screw I was using to affix the plate to the door frame. I hand-turned that screw for a snug fit, then repeated the procedure for the bottom screw. BUT WAIT…what’s all this about toothpicks? You’re right. I almost forgot. One of the reasons the striker plate AROUND THE BOLT OPENING ON THE GATE had become loose was because of the stress created by constantly having to boost the gate a little bit with my foot to get the bolt to slide into the hole in the middle of the striker plate. The holes for the screws had become torn up and finally too large for the screws, which were loose and falling out. I plugged the holes with (wooden) toothpicks, thus creating new “grab” for the screws. If you can choose toothpicks over some fancy plastic wood product, do it. It works better….every time.</p>
<p>MORE TOOTHPICK MAGIC: Some of the WINDOW GLIDES on the interior of our windows are original 1913. I had the rest of them cast in sand (like the old, Craftsman days) to replicate the originals shortly after we moved in. I then installed all of the hardware, window by window…some thirty in all. This hardware is very cool although, alas…. not very functional… which I suppose is why we don’t see this kind very much anymore. And, like I’ve told you, I am a restorer and fixer. All were working just fine until just the other day when I opened one of them a little too far so that I could step out on a flat area of our roof to throw down a tarp until I can get to a leak that revealed itself to me during our last deluge. When I bumped up against the window … oy! … I tore the screws right out of the wood. This morning, I filled those two holes with toothpicks, trimmed smooth, and then easily reattached the slider arm. </p>
<p>There’s always more to do at the Shore Shack. The latch on the pots and pans storage area compartment of our Wedgewood stove has been staring at me with little stove puppy eyes to please replace it. It’s broken because I made the mistake of replacing the original, all metal one with one of those flimsy, cheap cabinet latches intended for wooden cabinets. It’s got a plastic piece in there that melted from too much stove heat. This time I’ll call my friends at another fine company, ANTIQUE GAS STOVES P.O. BOX 9507 Alta Loma, California 91701 USA (909) 484-2222 email cookin@AntiqueGasStoves.com. They’ll have the right part, or they’ll know where I can find it. They walked and talked me through a thorough replacement of the gas lines and repositioning of the gas valve. That was quite a journey that will be the grist of an upcoming Handy Hazzan. Meanwhile … happy fixing. WE LOVE TO READ YOUR COMMENTS AND QUESTIONS. PLEASE POST! Remember: Tikkun Olam starts at home. You can fix it! – HH</p>
<p>
</p>
<p> </p>
</div>
</div>
<div class=)


Archbishop of Canterbury Embraces Supporters of Killers of Christians
To judge by the photos and remarks she posted on her website, she spent a good deal of time in the company of two supporters of a terrorist group—and had only praise for them.

Grateful Are We
An American Jewish Declaration for America’s 250th

Shabbat Shalom, America
In the midst of our parties and barbeques, Shabbat is God’s birthday present to America to remind us that we still live in the greatest country on earth.

The Pinchas Vigilante Roll Call — A poem for Parsha Pinchas
I’m a rule follower. So when the Book says find an unblemished red cow that’s all I want to do.


Why Is it that the Better We Diagnose Anti-Semitism, the Worse it Gets?
For a people obsessed with fixing problems, it’s disheartening to think that our tireless efforts at diagnosing and understanding the biggest threats against Jews are not making a difference.

A Bisl Torah — Go Out Before Them
No matter if we assign ourselves the title of leader, we each lead in some respect, whether it’s leading as a parent, a supervisor, a friend, or a member of our neighborhoods.


For America’s 250th Birthday, Jewish Journal Launches E-book “250 Reasons to Thank America”
In our newly-released e-book, we express our gratitude again and again and again, for big ideas and small touches.

Print Issue: What Happened to Loving Our Country? | July 3, 2026
What a gangbuster quarter millennium of a résumé America has assembled. Much to be proud of, and, yet… far too few Americans are lining up to blow out the candles.

From Los Angeles to Jerusalem: Dorraine Weiss Built a New Life in Israel at 62
Today, with several of her grandsons serving in the IDF, she believes there is no other place she would rather be.
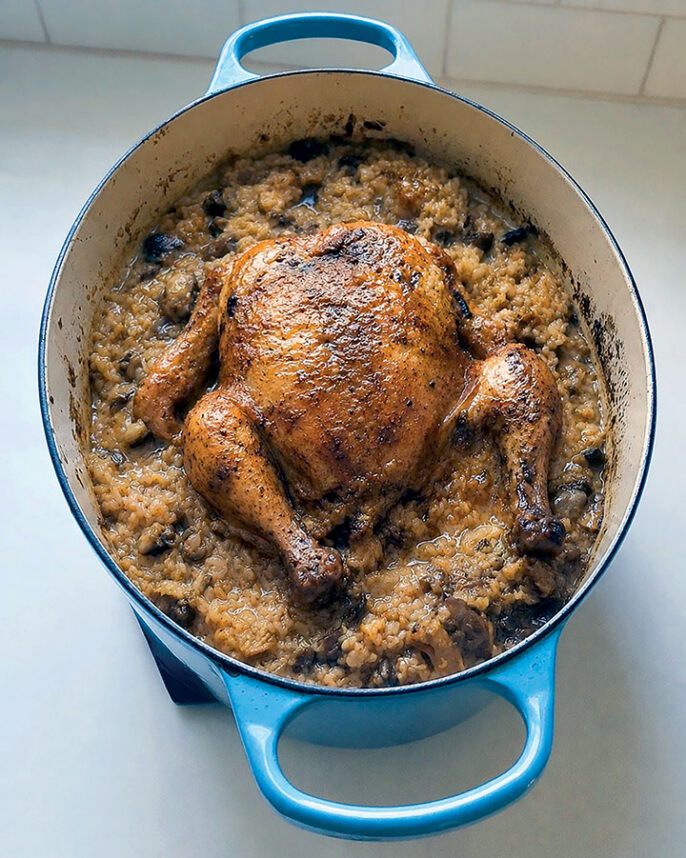
A Baharat Scented T’bit
This recipe is traditional and personal at the same time, which feels fitting.

Red, White and Blue Dairy Treats for Your Fourth of July Celebration
These delicious red, white and blue dairy desserts make it worth going parve for your Independence Day barbecue or picnic.

Table for Five: Pinchas
Women’s Rights

Mel Brooks Turns 100, AFI Bumps ‘Blazing Saddles’ to Top of Comedy List
Brooks has spent his career making large targets look small: Nazis, tyrants, bigots, Hollywood annoyances, studio logic, bad taste, good taste and, now, age.

The Limitations of a Housing Act and Two Practical Solutions
America’s housing crisis demands more than incremental turns. By doubling capital gains relief and launching the T.E.A.C.H. Homes Program, policymakers can inject immediate momentum into a market desperately needing it.

What Does the Rise of Democratic Socialists Mean for Jews and Democrats?
The DSA has shown that being anti-Israel, even if a candidate lacks experience, is enough to win.

Remembering Little Big Horn 150 Years Later as Historians, not Prosecutors or Priests
Today, for Americans and Jews, the Battle of Little Big Horn has relevance and resonance.

Rosner’s Domain | Savior No More
The greater the expectation, the sharper the disappointment.
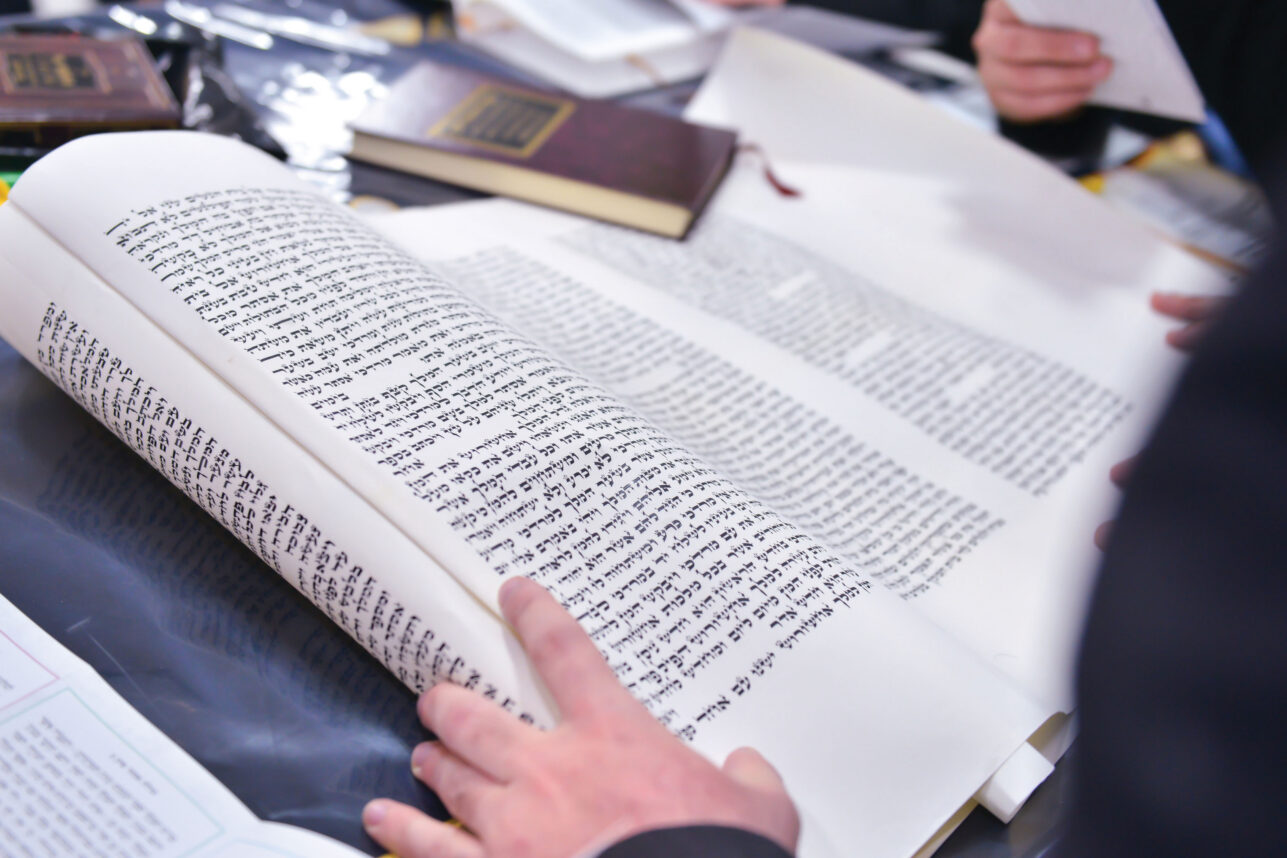
Hineni: Choosing Torah
As always, we each have the power to choose to listen, to learn, and to grow, or we can shut our ears to that still, small voice. Are you listening? Are you willing? Are you here?