
A fresh coat of paint can completely transform a room, but painting walls is a job few home decorators relish.
I don’t mind it too much. Instead of hiring painting contractors, I’ve painted the walls in my house myself. Sure, it may not be as much fun as going to Disneyland, but with a little prep work and a few tricks, you can get through the job — with flying colors.
CHOOSING THE PAINT
The color
Usually, the most difficult part of getting started is deciding on a color. There is more to life than Swiss Coffee, after all. Unfortunately, the little paint swatches from the store won’t give you an accurate idea of how the color will look when it’s applied to an entire room. If possible, purchase samples of the colors you are considering and paint 12-by-12-inch patches on your walls. Then see how the paint looks in the room at different times of day. If you don’t want to test the paint on the wall, paint a piece of foam core or cardboard.
The finish
For adult bedrooms and living rooms, a flat finish creates an even, non-reflective surface that hides surface imperfections. For higher-traffic, dirt-prone areas like hallways and kids’ bedrooms, select an eggshell or satin finish — the higher sheen makes it easier to clean. And for kitchens and bathrooms, a semigloss finish will withstand the frequent cleanings. Reserve high-gloss finishes for trims, doors and windows. Remember, these are suggestions, not rules. I prefer no sheen, so even my bathrooms have a flat finish.
The type of paint
Most paint contains volatile organic compounds (VOCs) that are harmful chemicals. Look for low-VOC or no-VOC paint. Because of public demand, they have become readily available at paint stores. The cost may be $10 or $20 more a gallon, but this eco-friendly choice is worth it. Also, consider paints that include a primer in the formulation. They require fewer coats.
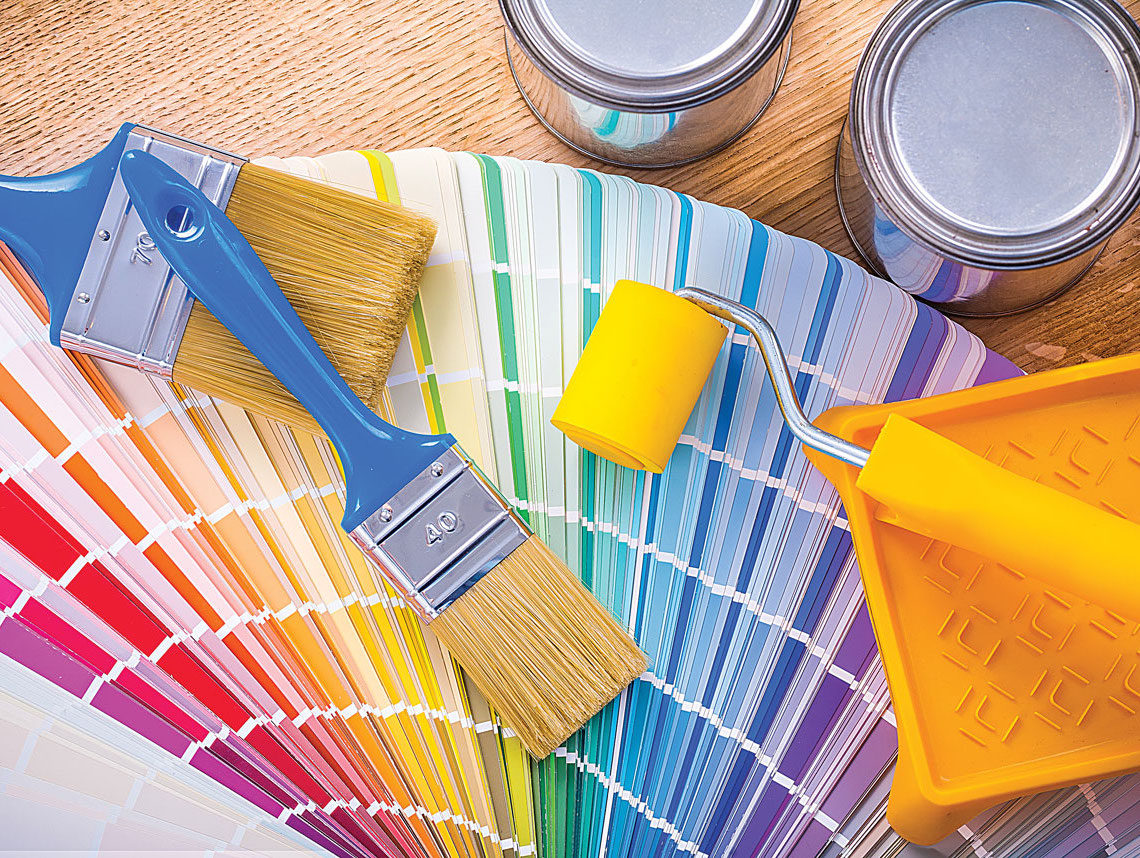
THE SUPPLIES
Paint roller covers
Roller covers are available in various thicknesses, or “naps.” Covers with naps of 1/4 inch or 3/8 inch are ideal for most walls that are smooth. If you’re painting over exposed brick or other rough surfaces, a thicker 1/2-inch nap will give you better coverage. Also, have a miniature (4 inches wide) paint roller handy to help you get into tighter spaces.
Extension pole
Invest in an extension pole that screws onto your paint roller. It will add to your reach and get the job done faster.
Brushes
To paint your trim, you’ll need a brush. Select a 2-inch brush with angled bristles, which will help you achieve a straight line.
Paint edgers
My secret weapon for paint jobs is the paint edger. It’s a plastic, rectangular painting tool with little wheels that glide against the ceiling or baseboards, allowing you to paint perfectly straight edges. There also are smaller edgers that work around window and door frames, and edgers that get into corners. I use all of them.
Canvas drop cloths
While it may be tempting to buy the cheap plastic drop cloths, it’s much easier to work with the canvas versions. They don’t slip as much, and can be wrapped around corners and furniture. Paint can seep through canvas, though, so invest in a heavier-weight canvas, and soak up larger spills with a paper towel.
PREPARATION
Surface prep
With a damp cloth, wash the walls, ceilings and baseboard trim to remove dirt, dust and cobwebs. For heavier stains, or if there is oil buildup, you also may need to use an appropriate cleaner. Patch holes and cracks with spackle and sand them smooth when dry. When the walls are clean and free of cracks, you can apply a topcoat of primer. (You can skip the primer if your paint has primer in it already.)
Furniture and curtains
Move furniture into the middle of the room and cover it with drop cloths. Plastic drop cloths are fine for this purpose. Remove curtains from their rods and place them under the drop cloths or in another room. (Now also would be a good time to vacuum those curtains. Just saying.)
Masking tape
Apply masking tape to baseboards, window frames and door frames. This is the most tedious step in the whole painting process, so try to make it fun. Play music, invite a friend over and reward yourself with chocolate. And instead of putting masking tape around switch plates, just remove them.
PAINTING
What first?
Although there is some debate about this matter, I prefer starting with the ceiling, then painting the walls and finishing with the baseboards and window trim. It just makes sense to start at the top and work your way down, especially since you’ll be dealing with paint drips.
The outside in
Start by applying paint with a paint edger at the ceiling and baseboard. Then use an edger on the corners and the window and door frames. You’re basically “outlining” the walls with paint. Once the edges are painted, use a roller to “paint within the lines.”
Feathering
It’s impossible to paint an entire wall with one continuous stroke, so you are naturally going to be overlapping with your roller. To avoid overlap marks, try something called feathering. When your roller appears to be drying out, keep moving the roller, extending from the area where the paint is wet. The “feathered” portion is thin and does not have much coverage. After dipping the roller in wet paint again, you can paint over the feathered area. Move the roller perpendicular to the first layer to remove any overlap marks.
EASY CLEANUP
Refrigerating brushes
If you need to stop painting before the job is finished, wrap your brushes and rollers in plastic wrap and place them in the refrigerator. This way, you don’t have to wash your tools in the middle of a job.
Line your tray with foil
You can purchase plastic tray liners for your paint tray, but they move around a bit while they are being used, and they’re wasteful. An easier alternative is to line your tray with foil. When you’re done with the painting job, just remove the foil, throw it away and pat yourself on the back. But wash your hands first.
Jonathan Fong is the author of “Walls That Wow,” “Flowers That Wow” and “Parties That Wow,” and host of “Style With a Smile” on YouTube. You can see more of his do-it-yourself projects at jonathanfongstyle.com.


 More news and opinions than at a Shabbat dinner, right in your inbox.